In this article, we’ll guide you through adding A records to your Cloudflare account—quickly and easily, in just a few steps.
At WPX, you can choose between two types of A records, depending on your setup:
the Server IP Address, or the XDN IP Addresses if you want to use WPX XDN.
Below, you’ll find step-by-step instructions for both options.
Step 1. Log in to your WPX account
Begin by logging into your WPX account. You can do this by visiting the WPX login page.
Step 2. Go to Control Panel
Once logged in:
- Locate your hosting plan in the WPX client area.
- Click the Control Panel button next to the plan you wish to manage.

Step 3. Locating the IP addresses
You must navigate to the Plan details section.
There you can locate your service details – Server IP, XDN IPs and Nameservers.

Step 4. Log in to Cloudflare
- Log in to your Cloudflare account here.
- Once logged in, click the three dots next to your website and select Configure DNS.

You’ll be redirected to the DNS Records section, where you’ll find Cloudflare’s DNS editor. From there, you can easily add or edit your DNS records.
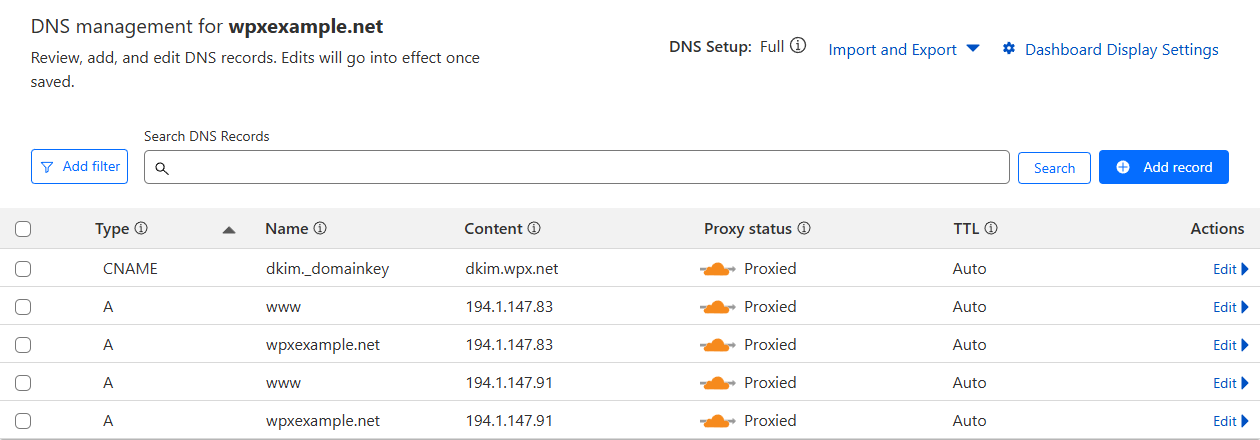
Add DNS records
To create a new record, simply click Add record. From there, you can choose the record type (A, CNAME, TXT, MX, etc.) and fill in the required fields.

Edit DNS records
To edit an existing record, just click the Edit button next to it.

Adding WPX A Records
Before you proceed, you’ll need to decide whether or not you’d like to use WPX XDN.
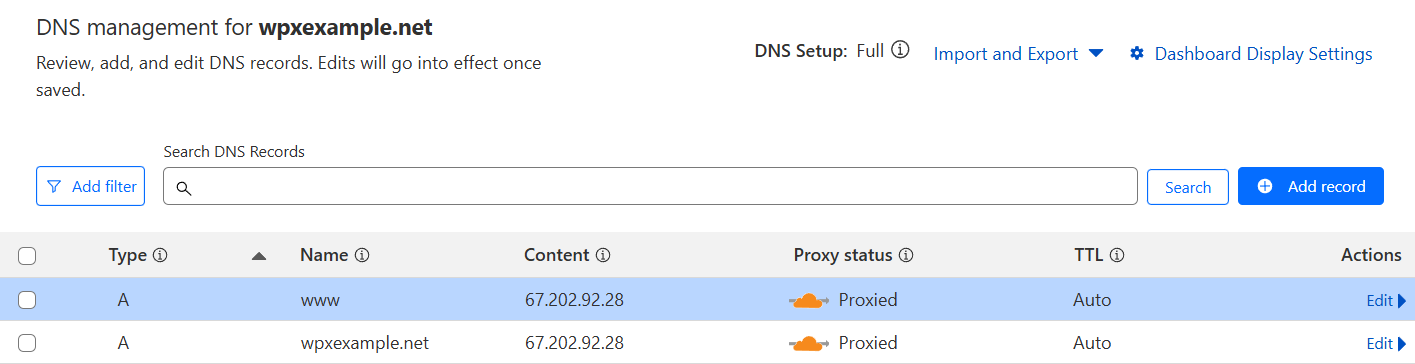
Option 1: Without WPX XDN (using the Server IP)
- Host: Same as domain or ‘@’.
Value/Target: 67.202.92.28 - Host: www
Value/Target: 67.202.92.28
Once you’ve added the records, they should appear like this:
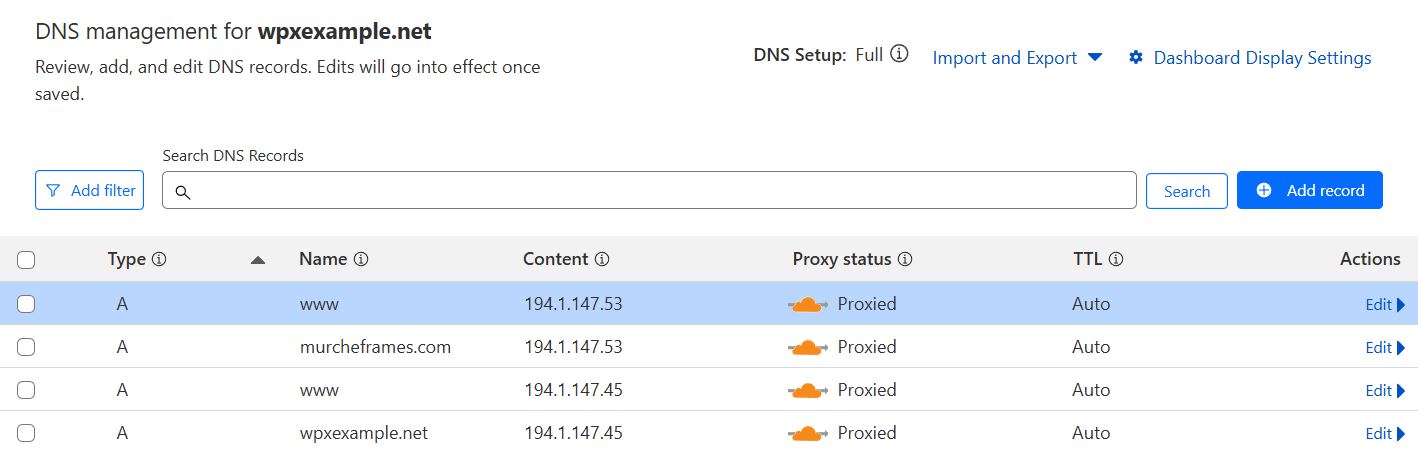
Option 2: With WPX XDN (using XDN IP Addresses)
Use all of the following A records for best performance and redundancy:
- Host: Same as domain or ‘@’.
Value/Target: 194.1.147.53 - Host: Same as domain or ‘@’.
Value/Target: 194.1.147.45 - Host: www
Value/Target: 194.1.147.53 - Host: www
Value/Target: 194.1.147.45
Once you’ve added the records, they should appear like this:
Wait for the propagation process to be completed
If your website was recently migrated to WPX, do not make any changes to the site until DNS propagation is fully completed. Any updates made during this period may be saved on your old hosting account and could be lost once propagation finishes.
The DNS propagation usually takes anywhere from a few minutes to 48 hours. During the propagation process, some of your visitors will access your website from your old hosting and some from WPX.
Please note that since Cloudflare uses a proxy by default, the actual WPX IP addresses will be masked. Because of this, the online DNS tools won’t show the WPX IPs during propagation.
If you want to track the DNS propagation using an online tool and see the real WPX IPs, you can temporarily disable the proxy until propagation is complete. Once confirmed, you can re-enable the proxy.

Have more questions? Contact the WPX Support Team through the live chat widget in the bottom-right corner, and they’ll assist you promptly, typically within 30 seconds.