Easily clone your WordPress site using the Migrate Guru plugin with this step-by-step guide – perfect for migrations or site duplication.
Before You Begin
To ensure a smooth migration, take a few preparatory steps. Before using the Migrate Guru plugin, make sure you have the following ready:
- Add the New Website to Your Hosting Plan: Ensure the destination website is included in your hosting plan – guide.
- Install WordPress on the New Domain: Set up a fresh WordPress installation on the target domain – guide.
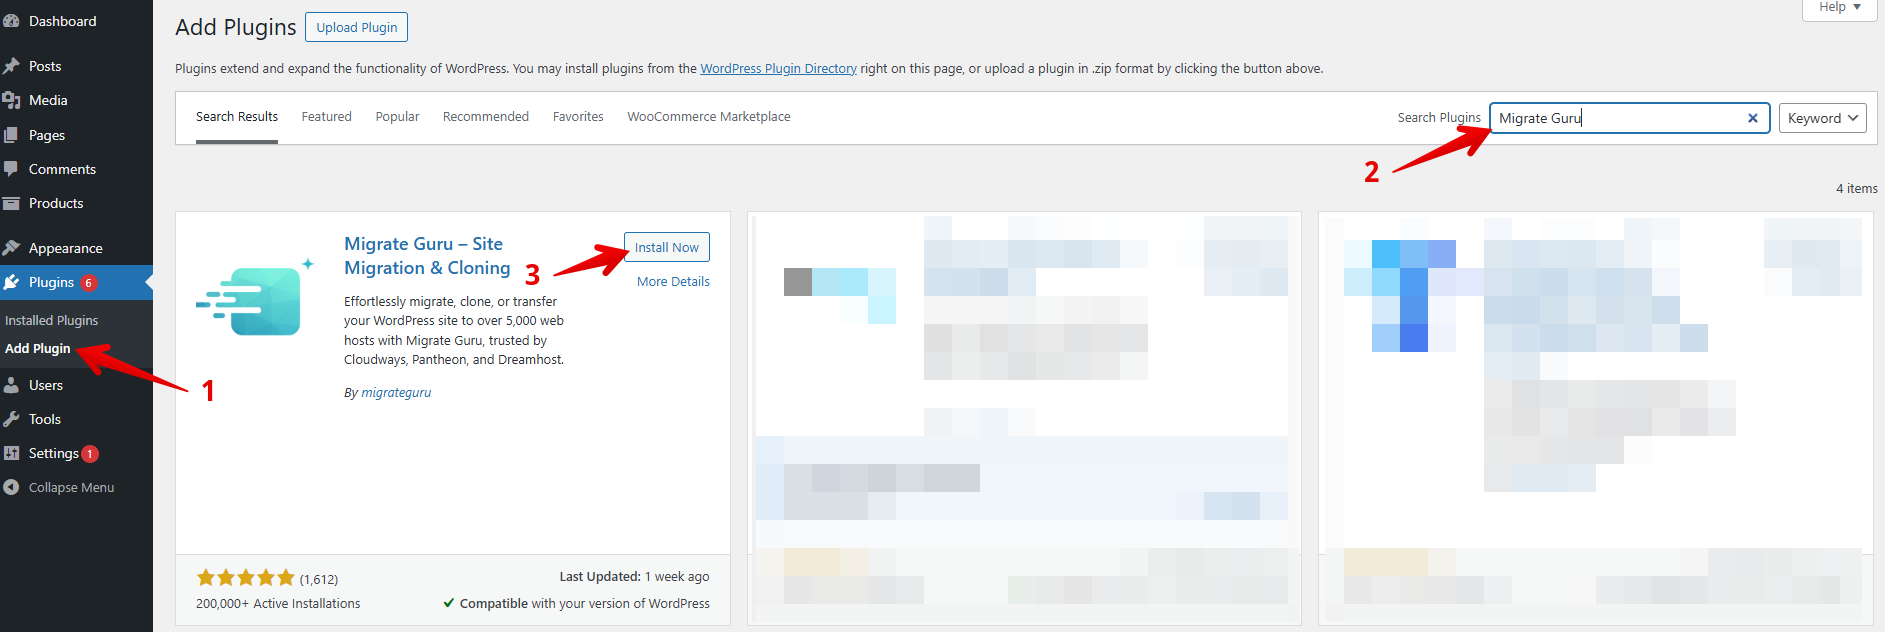
Step 1: Install the Migrate Guru Plugin
Log in to your WordPress Admin Dashboard and:
- Go to Plugins and select Add New Plugin.
- Search for Migrate Guru in the search bar.
- Click the Install Now button.
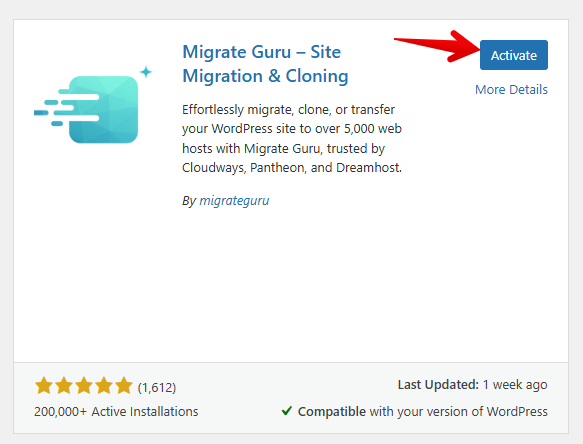
After a successful installation, click the Activate button.
Step 2: Configure Migrate Guru
When you open the plugin, you’ll be prompted to install Migrate Guru on the destination site – the new website where your content will be copied over.
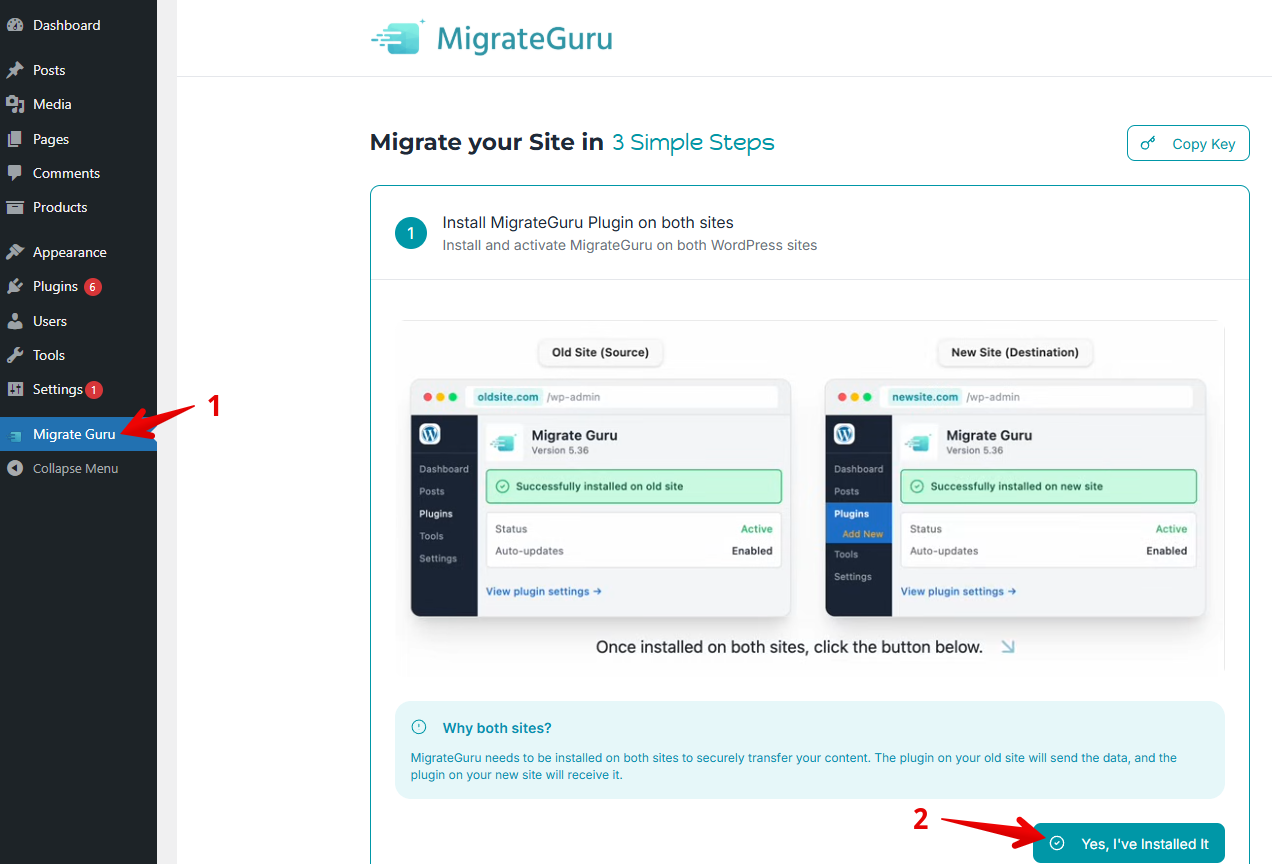
1. Log in to your destination WordPress site.
2. Install and activate Migrate Guru there as well.
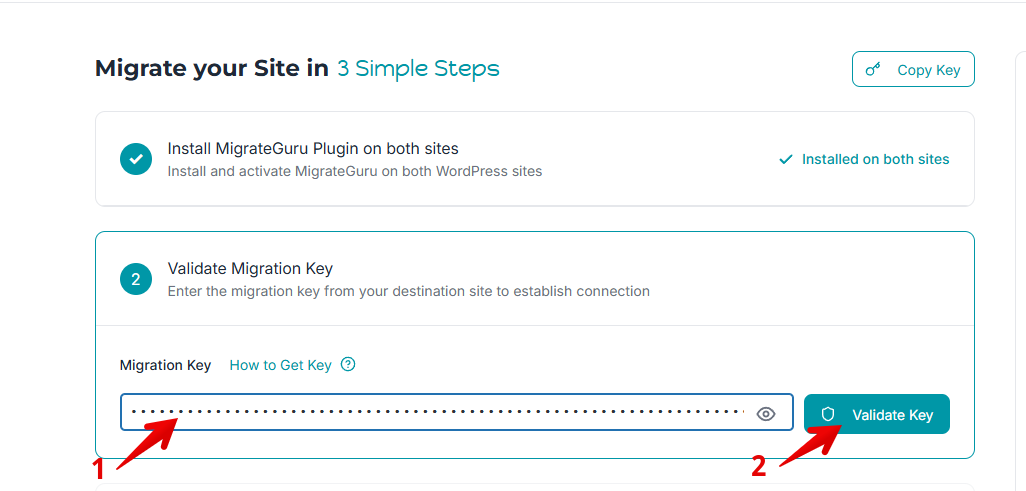
3. Open the plugin’s dashboard and select Copy Key.
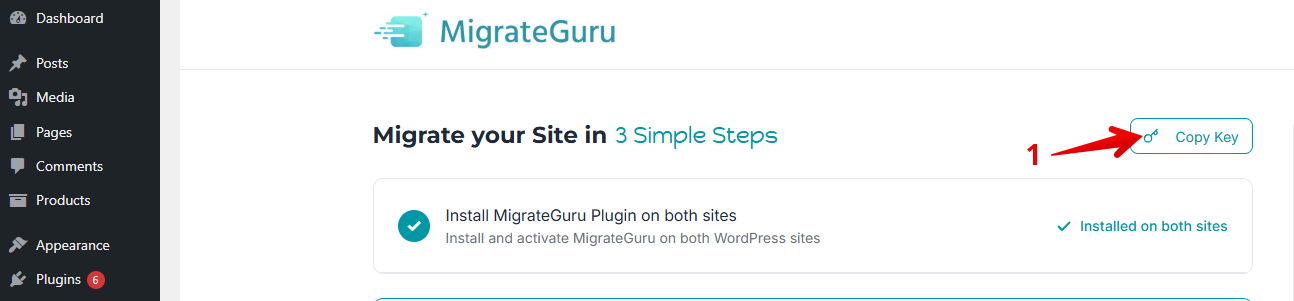

- Paste the Migration Key.
- Select Validate Key.
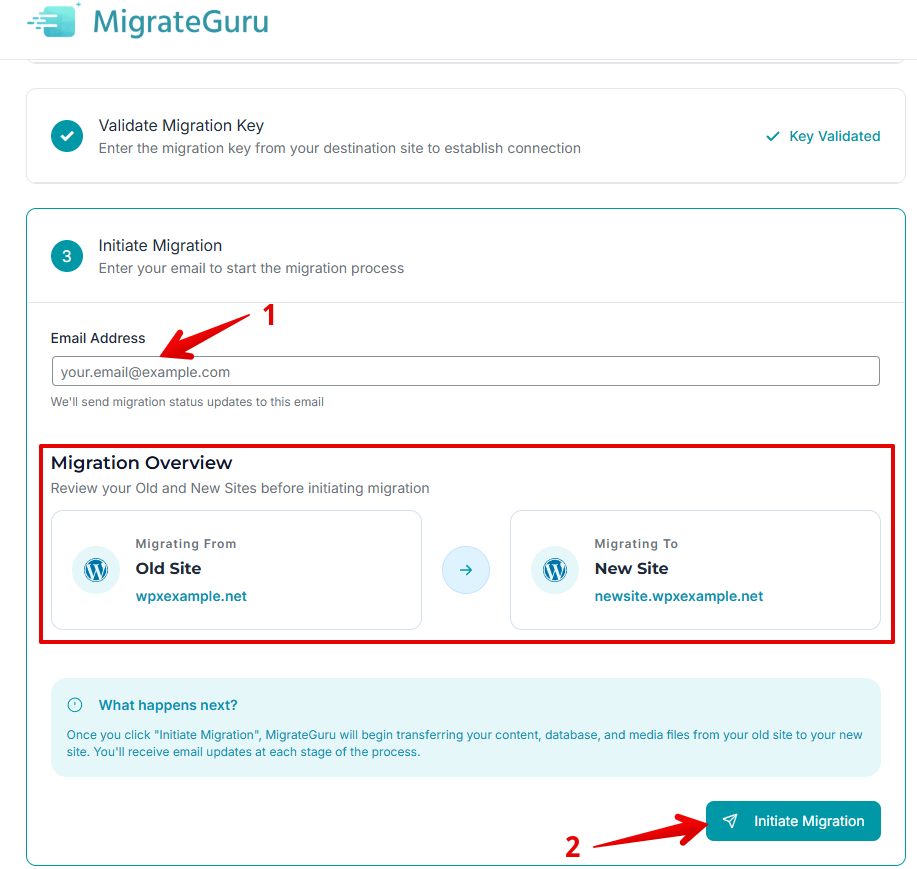
Step 3: Initiate Migration
After the key is validated, you’ll be prompted to enter your email address, which will be used to notify you once the migration is finished. Once that’s done, click Initiate Migration to begin the process.
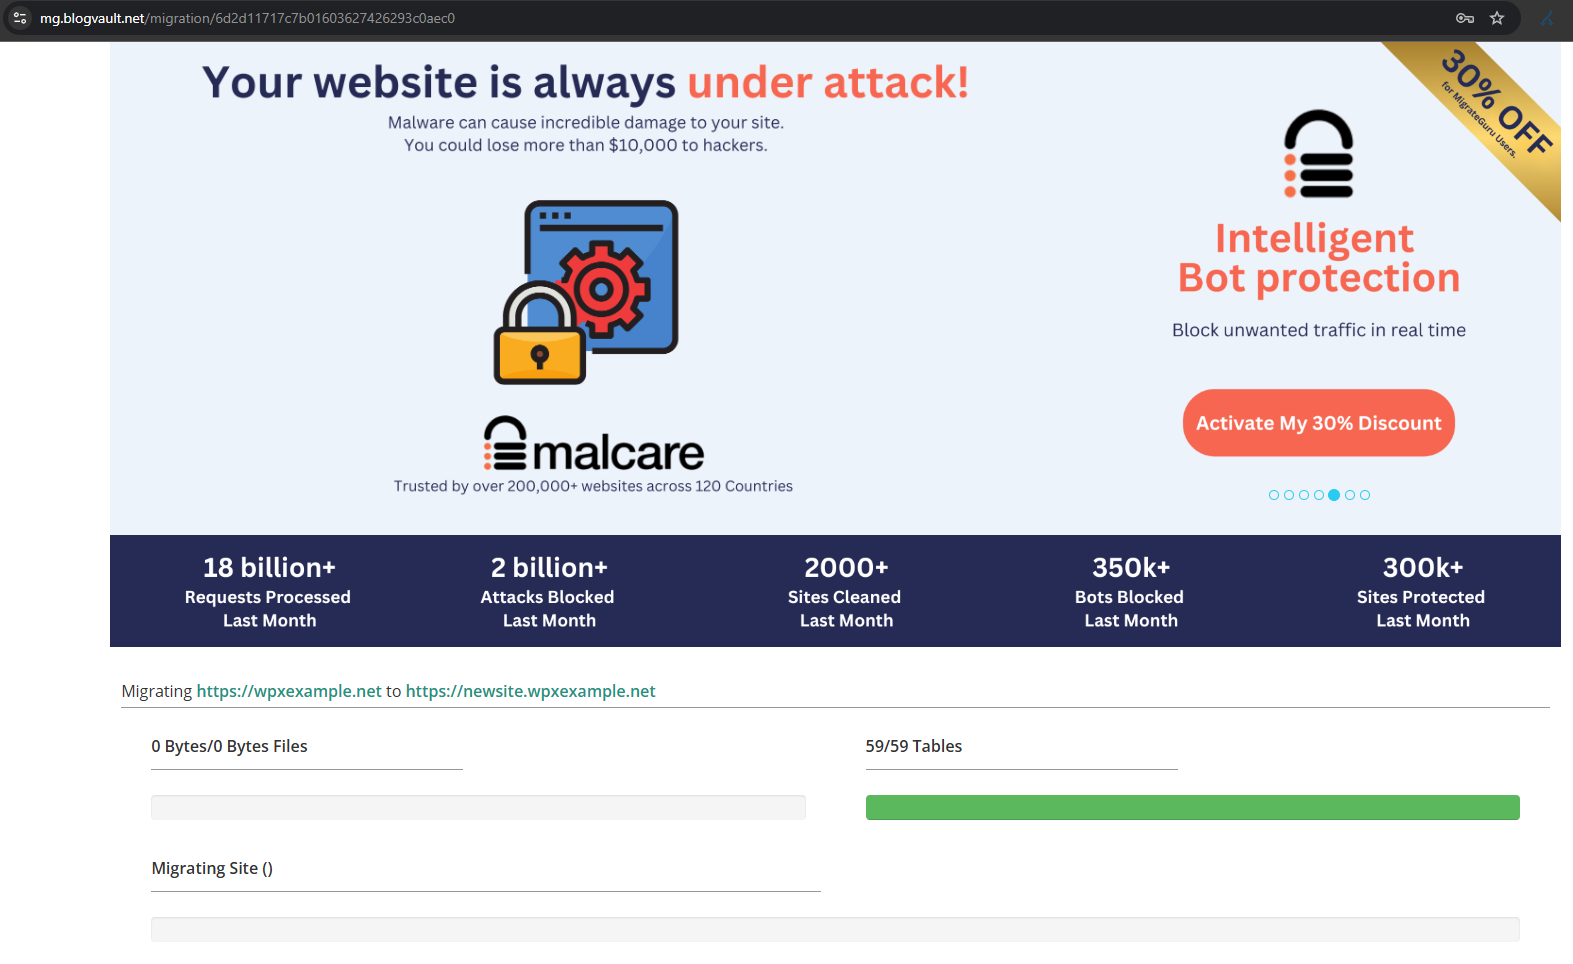
Once Migrate Guru establishes the connection between the two sites, you will be redirected to a page where you can monitor the migration process – make sure to wait for the process to finish before making any changes to either website.
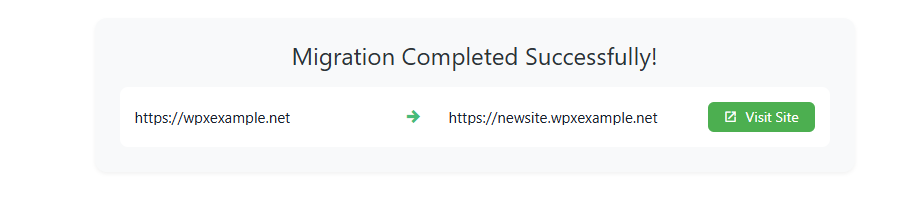
After the migration is finished, you’ll receive an email notification at the selected email address and will also be redirected to the following page:
Step 3: Post-Migration Checks
Once the migration is completed:
Verify Website Loading: Ensure the new domain loads correctly from WPX.
Confirm File Transfer:
- Use the WPX File Manager to check that all files have been transferred successfully.
- Note that while Migrate Guru is effective, no plugin guarantees a flawless migration. It’s essential to verify that all content has been accurately cloned.
Check Database Integrity:
- Ensure the database has been migrated correctly.
- Test the functionality of your website to confirm that all components are working as expected.
Have more questions? Contact the WPX Support Team through the live chat widget in the bottom-right corner, and they’ll assist you promptly, typically within 30 seconds.