If you’ve finished working on your Staging site and are now ready to update your Live site, this guide will walk you through the process of deploying the staging to your Live site.
Step 1. Log in to your WPX account
Begin by logging into your WPX account. You can do this by visiting the WPX login page.
Step 2. Go to Control Panel
Once logged in:
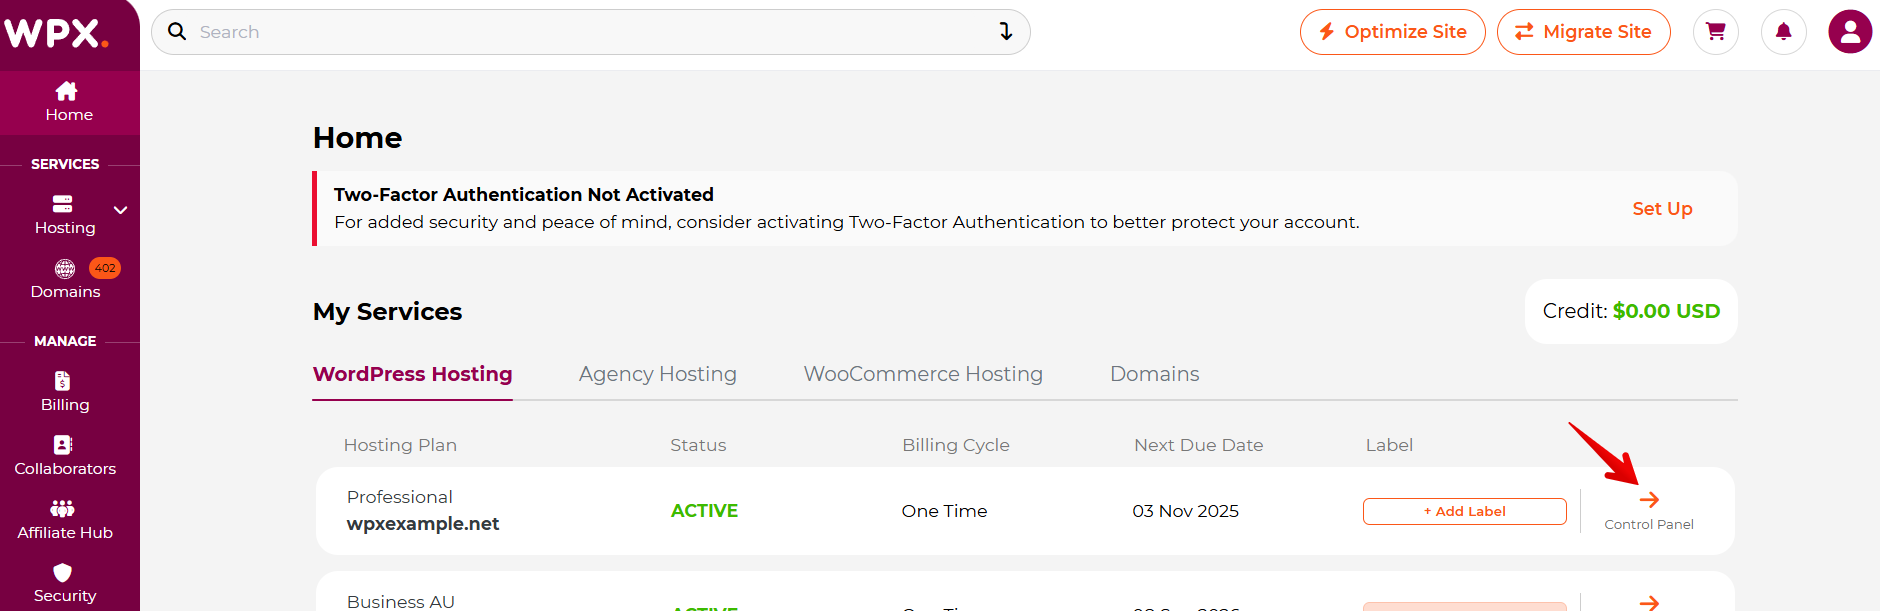
- Locate your hosting plan in the WPX client area.
- Click the Control Panel button next to the plan you wish to manage.
Step 3. Deploy Staging to Live
Please note that deploying the staging site to the live site will completely overwrite the content currently stored on the live site with the content from the staging site.
- Navigate to the Staging section in your WPX Control Panel.
- Locate the Staging site you want to deploy.
- Click the Deploy button next to it.
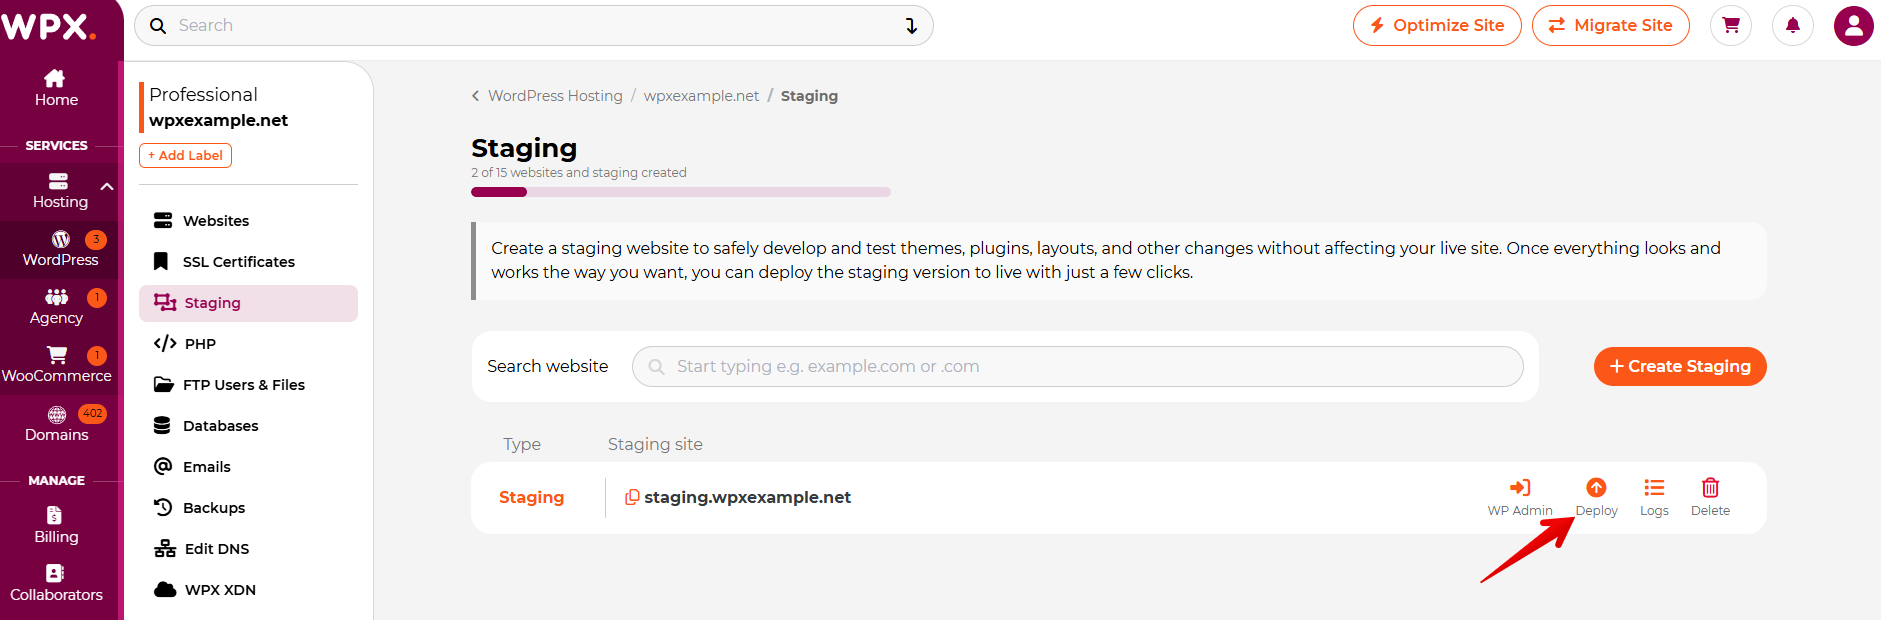
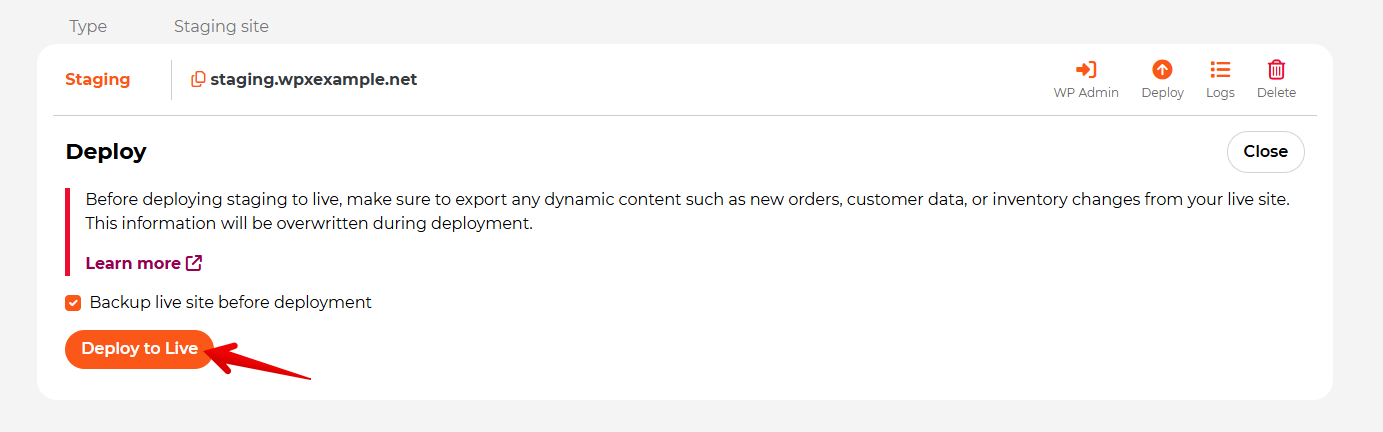
Once you click the Deploy button, a new section will appear with an option to create a backup before deployment (checked by default).
If you have a recent backup of your Live site, simply uncheck the box to skip this step and proceed by clicking the Deploy to Live button.
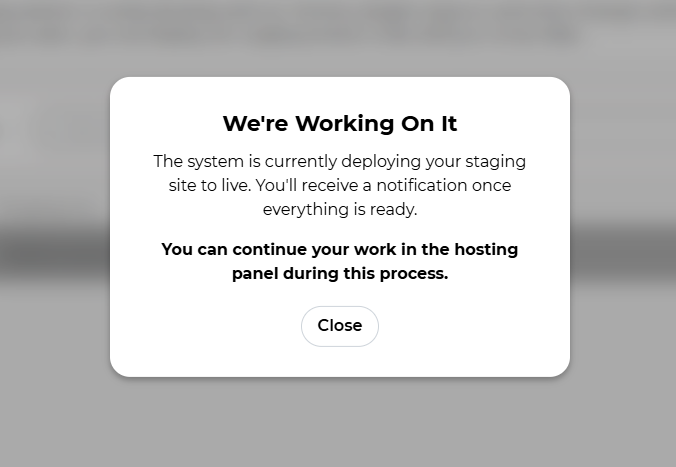
When the process starts, a pop-up will notify you that it’s in progress.
You can safely close it and continue working in the panel.
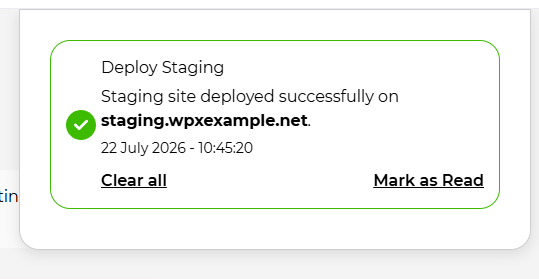
The deployment process is now complete, and your live website has been successfully updated. To see the changes, you need to clear your browser cache or view the site in a different browser or Incognito mode.
Keep in mind that your internet connection may also cache the site, so try checking it from another network (e.g., mobile data) or add /?nocache to the URL.
Have more questions? Contact the WPX Support Team through the live chat widget in the bottom-right corner, and they’ll assist you promptly, typically within 30 seconds.