In this article we will show you how you can preview and even develop your website without pointing the domain to the new server. That happens with the help of a hosts file which is located on your Windows computer.
What is a Hosts File?
The Hosts File is a local file that maps domain names to IP addresses. The purpose of using that file is simple. The plan is to point your domain to a specific IP Address and “force” it to load from that location before actually making any DNS changes. In other words, it’s overriding your actual DNS zone. So, every time you visit a website, your computer will check the hosts file first to see which IP address it connects to and load it from there, instead of the IP address it is pointed to by DNS records.
In short, by editing the Hosts file, you’ll be able to open your website locally.
Why use the Hosts File?
As you know, for your website to start loading from the new server after moving it to WPX, there will be a DNS propagation time which can take up to 48 hours. During that time, your website will load for the public but it is not recommended to make changes to it because those changes may not be saved on the new server.
That’s why editing the Hosts file is useful if you want to modify or just check your site after moving it to the new hosting and see how it’ll look without pointing the domain.
Another example, of why you can use the Hosts File, is when you are developing your website and you need to see the new content you’ve made without clearing all the cache (server, browser, and plugin) after you made a new change. (OR without changing the DNS records for the public).
Step 1. Log in to your WPX account
Begin by logging into your WPX account. You can do this by visiting the WPX login page.
Step 2. Go to Control Panel
Once logged in:
- Locate your hosting plan in the WPX client area.
- Click the Control Panel button next to the plan you wish to manage.

Step 3. Copy the Server IP Address
Now that you have entered your WPX Control Panel, make sure to navigate to Plan details (1) and there you will see the IP Address (2) of the server which you need to copy, you will need it for later while editing the hosts file.

Step 4. Open Terminal
Use the Command ⌘ + Space keyboard shortcut, once the Spotlight search field appears in the middle of your screen, please type Terminal and open it.
Step 5. Open the hosts file
To open the hosts file, enter the following command:
sudo nano /private/etc/hosts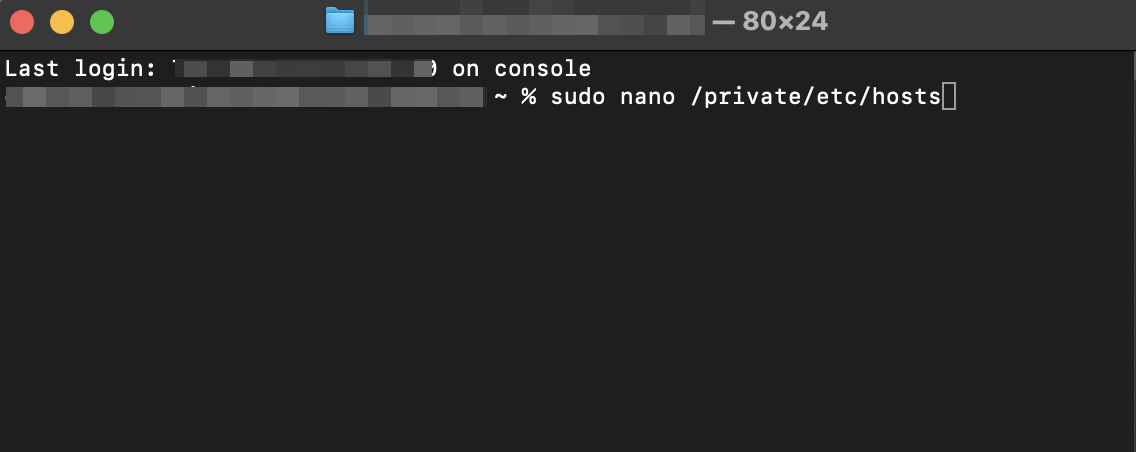
Once you type in your MAC password, you will be directed to the hosts file.
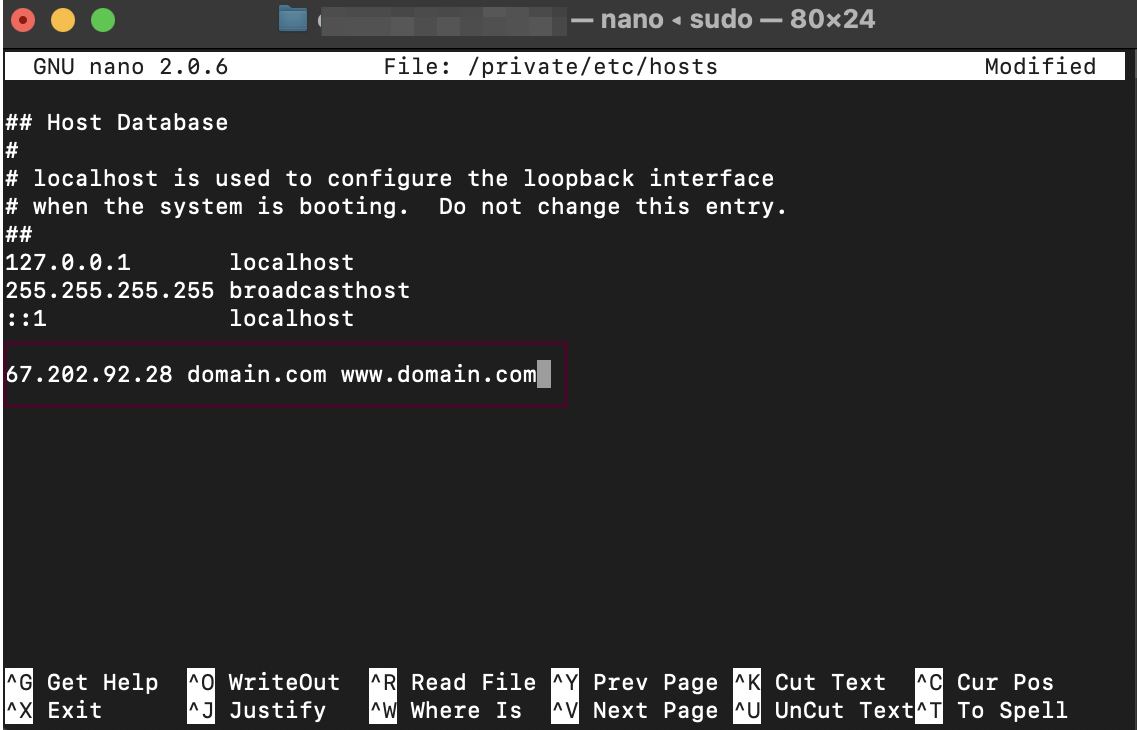
Step 6. Add your domain to the hosts file
At the bottom of the file, insert your Server IP Address, followed by a space, then your non-www and www versions of your domain name.
Step 7. Save the changes
To save the changes, press CTRL + O. Then launch your browser and navigate to the domain you inserted into your hosts file.
If you get stuck with anything discussed on this page, please contact WPX Support via live chat (use the bottom right-hand widget) and they will respond and help within 30 seconds or less.