Accessing your website files is straightforward with WPX Hosting’s File Manager. Follow these steps to navigate and manage your files effectively.
Step 1. Log in to your WPX account
Begin by logging into your WPX account. You can do this by visiting the WPX login page.
Step 2. Go to Control Panel
Select the Control Panel button next to the plan you’d like to manage.

Step 3. Access the File Manager
- Select FTP Users & Files menu from the left-hand side.
- Click on the File Manager button to open it in a new tab.

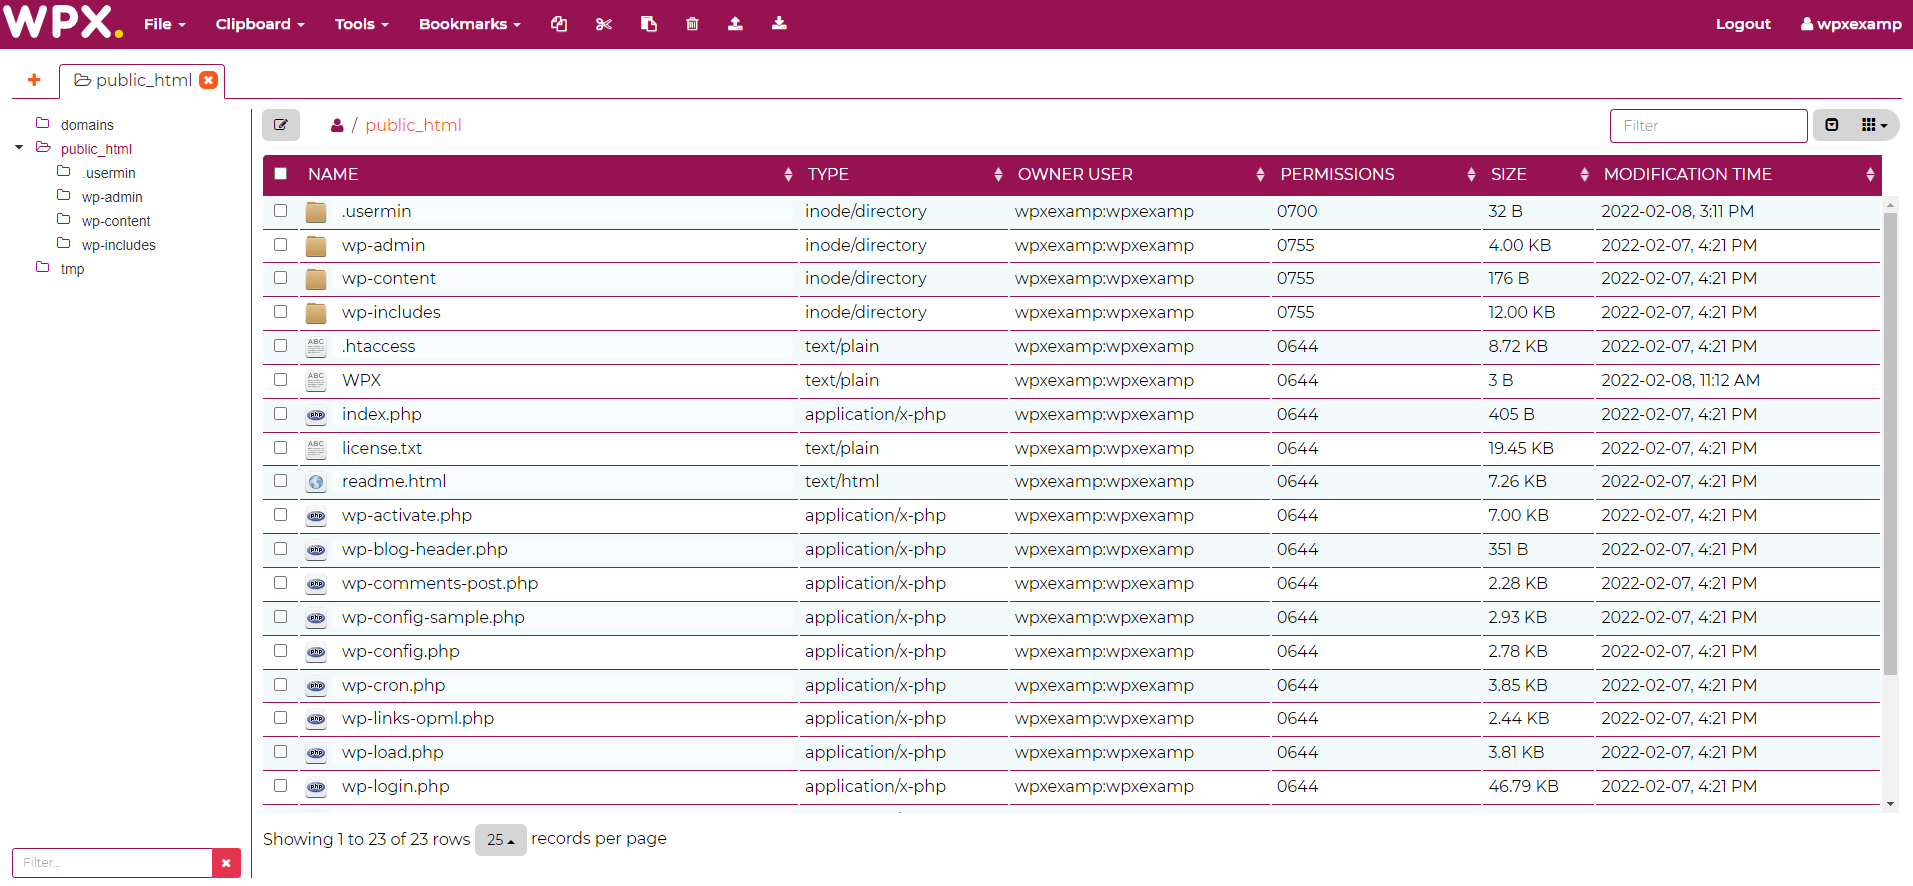
Step 4. File Manager overview
The File Manager will provide you with options to navigate between your websites’ files and manage everything from there.

Understanding File Organization
In WPX Hosting:
- The main website’s files are located directly in the
public_htmldirectory. - Files for additional websites (sub-sites) are stored within the
domains/yourwebsite.com/public_htmldirectory.
You can find more information about our File Manager here.
If you get stuck with any function discussed here, please contact WPX Support via live chat (use the bottom right-hand widget!) and they will usually respond and help within 30 seconds or less.