In this article, we will provide you with detailed instructions on how you can configure your WPX Email box to work on your iOS Mail application (iPhone).
You need to download the Apple Mail configuration on your phone so you can easily set it up.
Step 1. Log in to your WPX account
Begin by logging into your WPX account. You can do this by visiting the WPX login page.
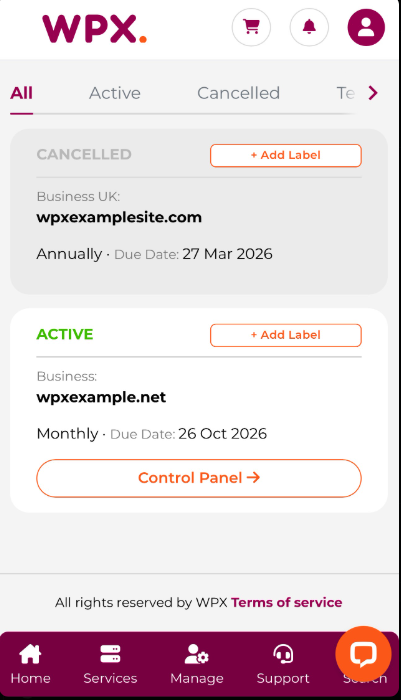
Step 2. Navigate to your hosting plan.
Once you log in to your WPX account, select the main menu on the bottom (1) → Services (1) → WordPress.
Then you will see all of your hosting services with us. When you find the plan that you want to manage, press the Control Panel button.

Step 2. Email Settings.
First, you need to click on the drop-down menu:

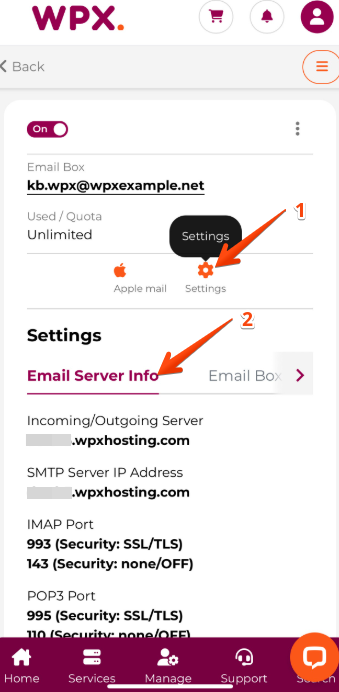
You can find your Mail server settings in the Emails menu:
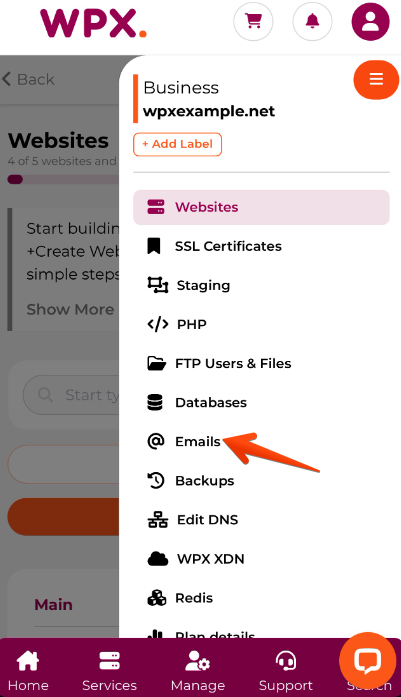
Select the Emails menu, and all of your email boxes with WPX will be listed.
You just have to choose the email box that you want. to be connected with the iPhone and click on the Settings (1). Then you’ll be able to see the Email server info (2):
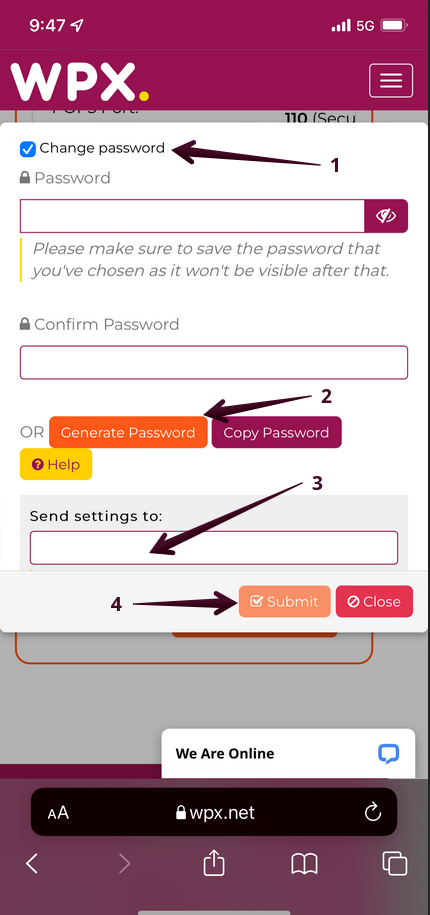
Step 3. Send email settings or reset your mail password.
Now that you are in your E-mail boxes menu, select the Settings button next to the email box that you want to connect with your iPhone.
Once you open the email box settings, you can:
- change the mail password (1);
- use a generated password (2);
- send the settings (3) to a different email box (without the password);
- submit your changes (4);

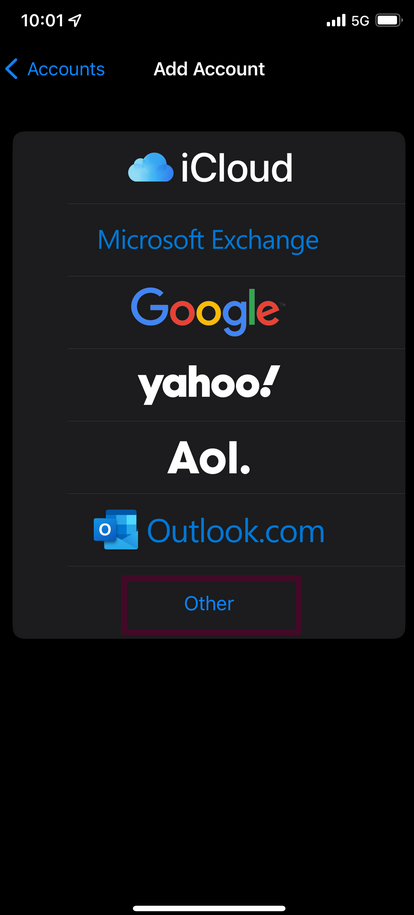
Step 4. Set up your email account on your iPhone.
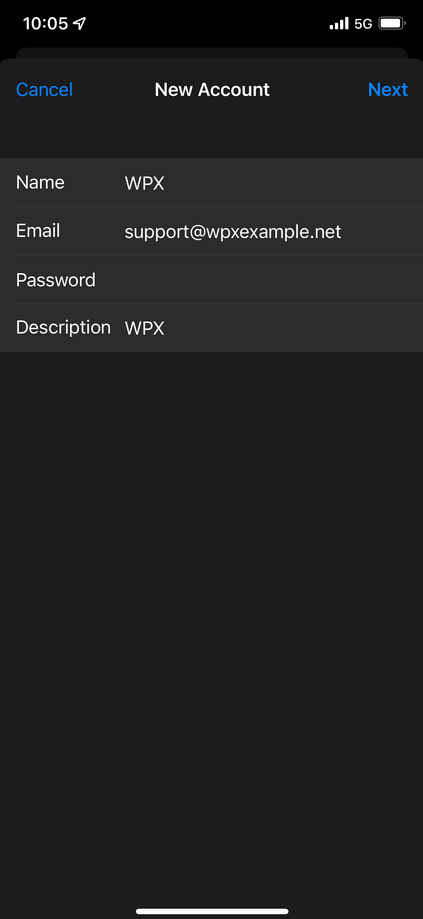
Then, proceed to Mail → Accounts → Add Account → Other → Add Mail Account. There you will need to fill in the required information:
- Name: the name of your email user (e.g. WPX);
- Email: your email address (e.g. SUPPORT@wpxexample.net);
- Password: the password for your email address. If you are not sure what your password is, check Step 3;
- Description: a short description of your email account (e.g. WPX).
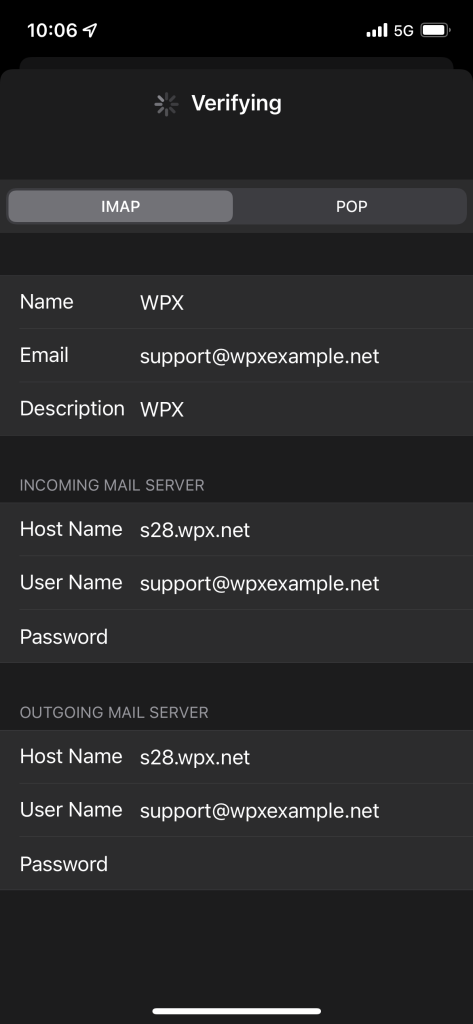
Step 5. Fill in the Incoming/Outgoing Mail Servers.
After that click on the Next button and you will have to fill in the details of the Incoming/Outgoing Mail Server:

Stuck at any point? Don’t worry, just click the live chat widget in the bottom-right, and one of our support agents will assist you in under 30 seconds.