Need to access your WPX email on your Apple device? This step-by-step guide will show you how to set it up quickly and easily, whether you’re using an iPhone, iPad, or iPod touch.
Step 1. Log in to your WPX account
Begin by logging into your WPX account. You can do this by visiting the WPX login page.
Step 2. Go to Control Panel
Once logged in:
- Locate your hosting plan in the WPX client area.
- Click the Control Panel button next to the plan you wish to manage.

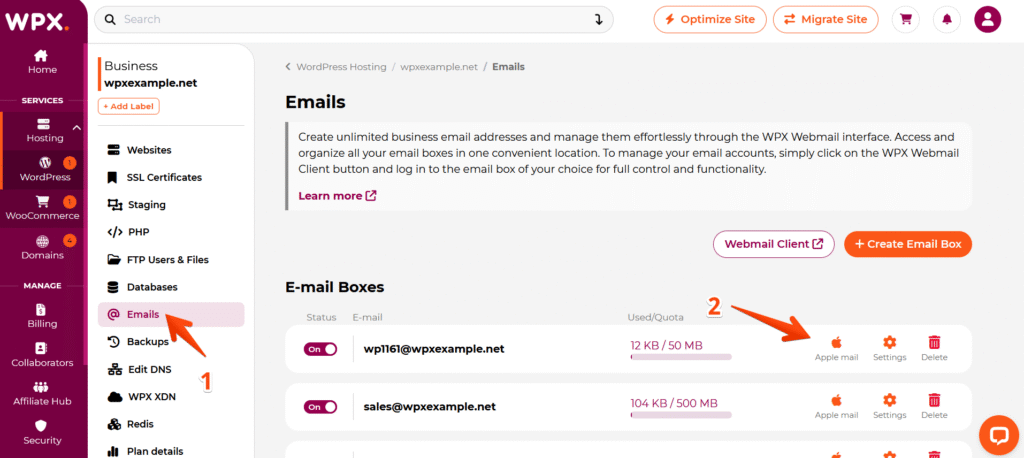
Step 3. Download Apple Mail configuration
In the Control Panel:
- Click the Emails menu.
- Next, find the email address you want to set up, and click the Apple Mail button next to it.
This will download the configuration for your email to connect with any Apple device.
Step 4. Install the configuration file on your device
Use AirDrop, iCloud Drive, or Email to transfer the file to your iPhone, iPad, or iPod touch.
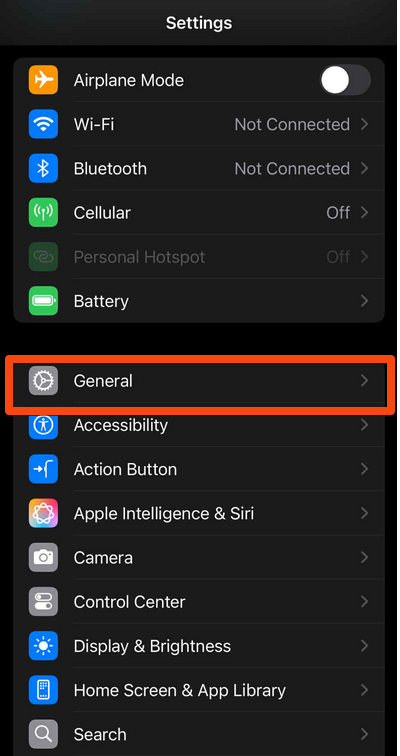
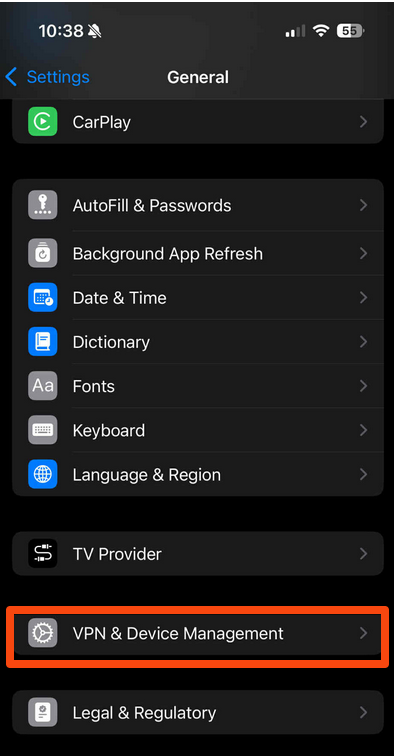
On your iPhone/iPad/iPod, go to Settings → General → VPN & Device Management.
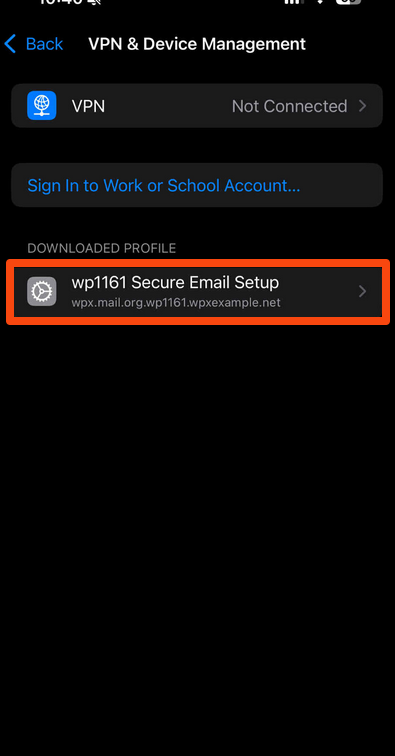
- Tap the profile you transferred from your WPX account.
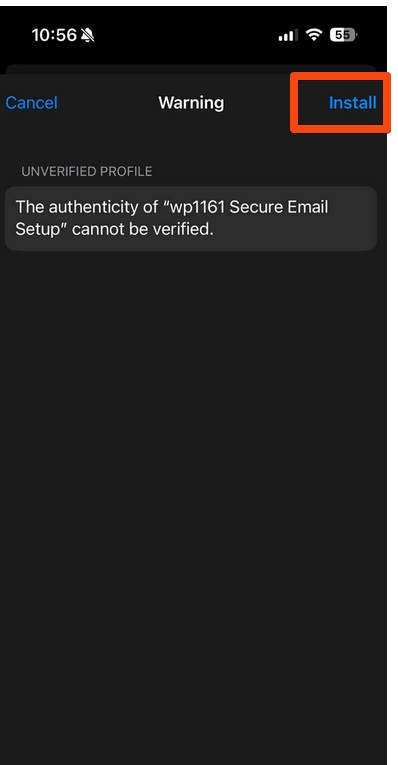
- Tap Install in the top-right corner

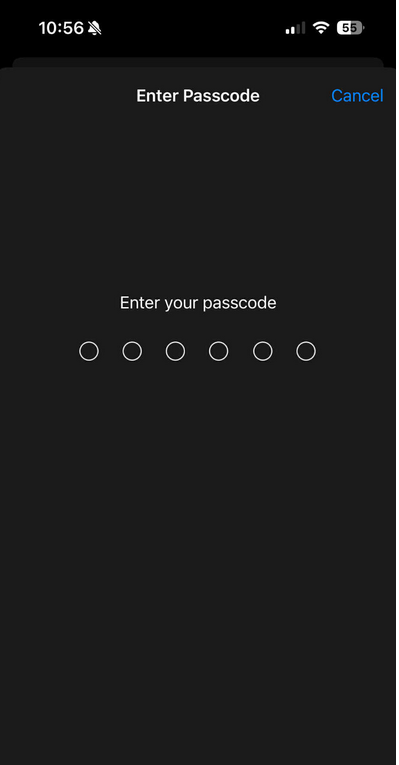
Enter your device passcode. Then, a security warning may appear; tap Install again to proceed.
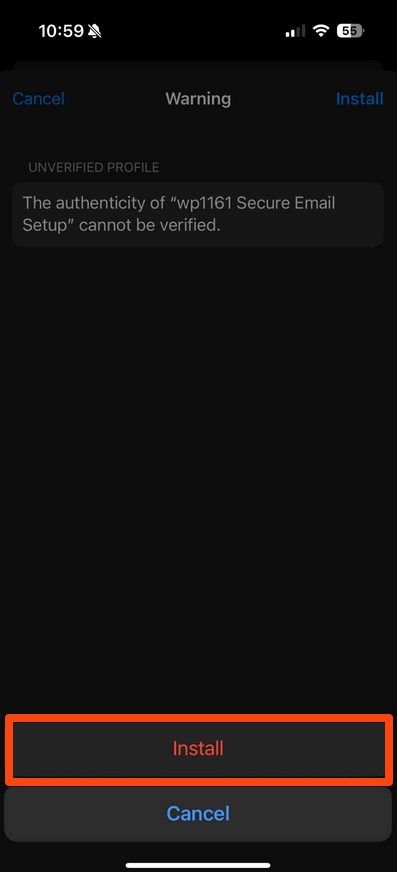
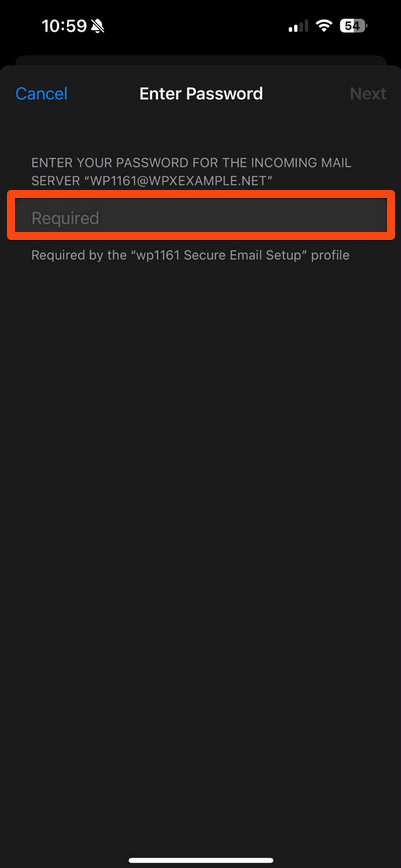
Confirm by tapping the Install button again, then enter your email password when prompted. Finally, tap Next in the top-right corner to complete the setup.
iOS 18.X Known Issue
Some users on iOS 18.X have reported issues such as:
- Emails not opening
- Attachments failing to download
Cause: These problems appear to be linked to Low Power Mode.
Fix: Switch to Full Power Mode. Disabling Low Power Mode usually restores email functionality.
Have more questions? Contact the WPX Support Team through the live chat widget in the bottom-right corner, and they’ll assist you promptly, typically within 30 seconds.