Creating a Staging copy of your site is an essential step for testing changes before applying them to your live website.
However, it’s important to note that there are some limitations when using a Staging site.
Step 1. Log in to your WPX account
Begin by logging into your WPX account. You can do this by visiting the WPX login page.
Step 2. Go to Control Panel
Once logged in:
- Locate your hosting plan in the WPX client area.
- Click the Control Panel button next to the plan you wish to manage.

Step 3. Create Staging
Navigate to the Staging section and from there:
- Click the Create Staging button, and a new section will appear.
- Select the Live site from the dropdown menu for which you want to create the Staging area.
- Click on the Create button.

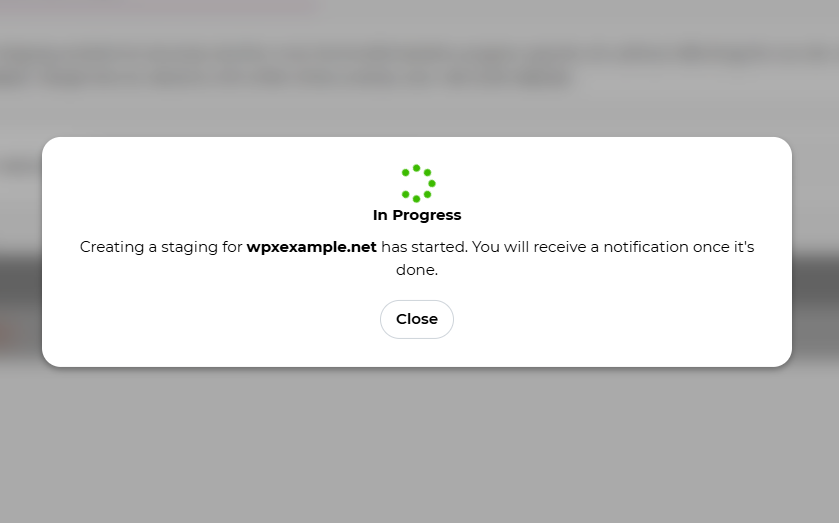
When the staging area creation starts, a popup will notify you that it’s in progress.
You can safely close it and continue working in the panel.


Stuck at any point? Don’t worry, just click the live chat widget in the bottom-right, and one of our support agents will assist you in under 30 seconds.