All domains purchased from WPX have the WHOIS Privacy Protection feature that can be enabled. This article is a step-by-step guide on how to activate it. You can easily do that from your control panel.
Step 1. Log in to your WPX account
Begin by logging into your WPX account. You can do this by visiting the WPX login page.
Step 2. Domain Settings
Within the Control Panel:
- Select Domains from the main side navigation.
- Click the Settings button

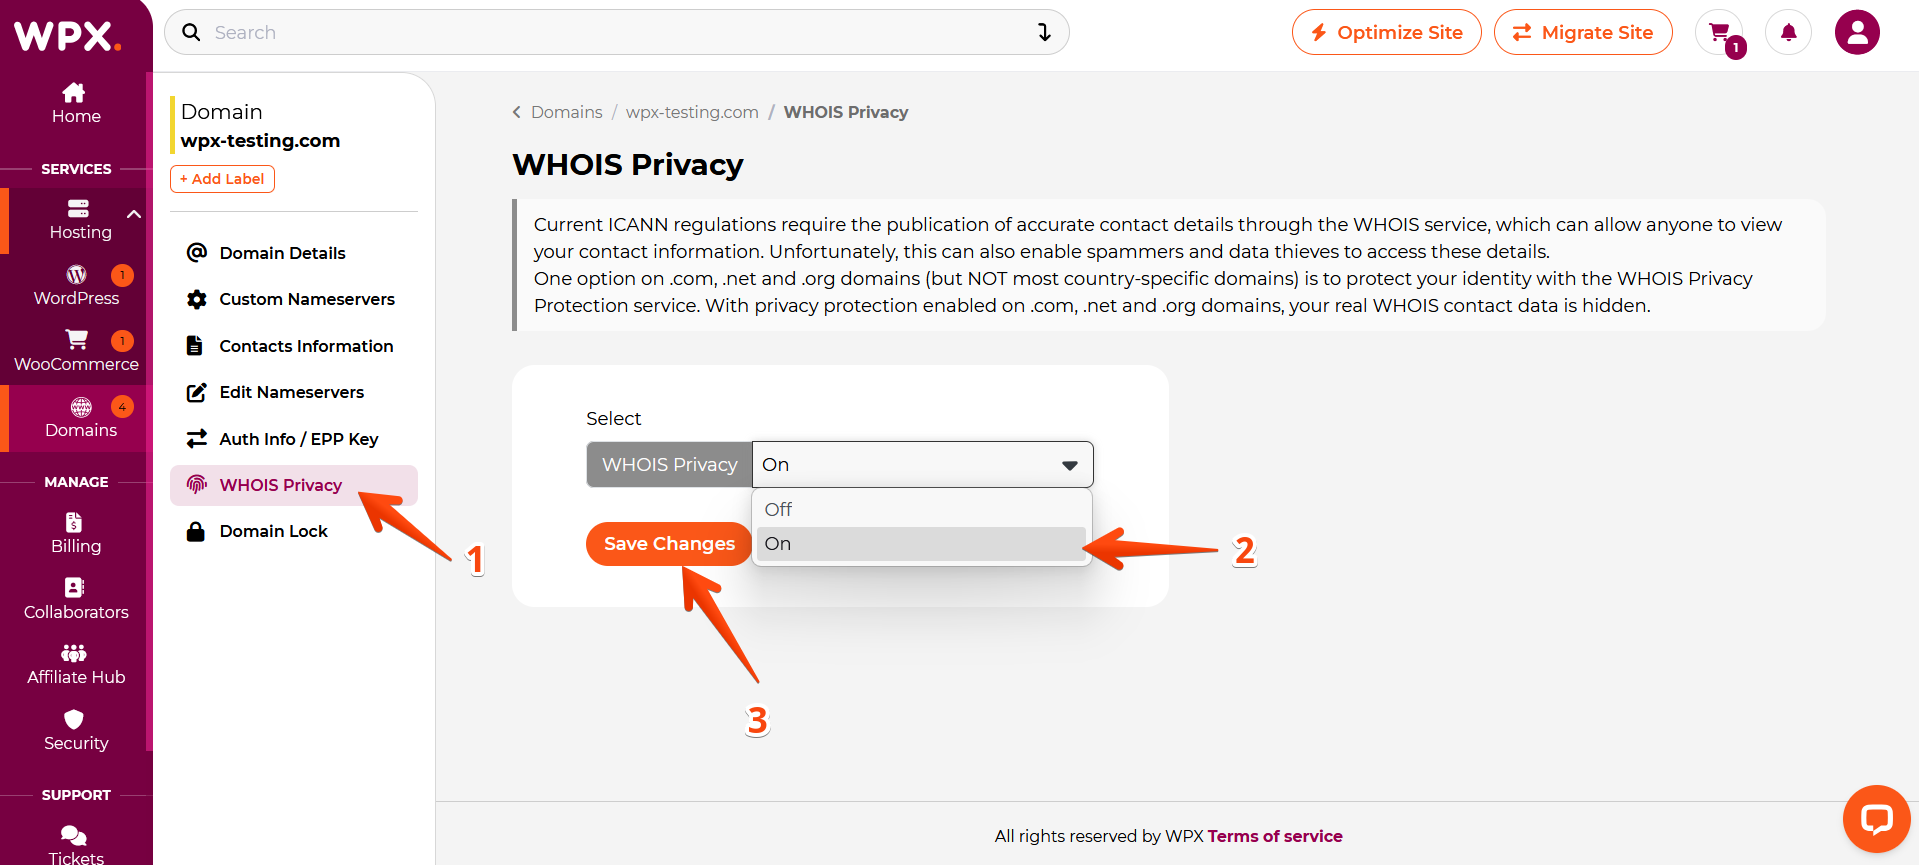
Step 3. Manage WHOIS Privacy
To enable WHOIS Privacy
- Select the WHOIS Privacy menu.
- From the dropdown, select Om.
- Click Save Changes to apply the changes.
For more in-depth information about WHOIS Privacy, you can check this article here.
If you get stuck with anything discussed on this page, please get in touch with the WPX Support Team via live chat (use the bottom right-hand widget), and they will respond and help within 30 seconds or less.