In this guide, you’ll learn how to install and set up an SMTP plugin to handle your WordPress website’s email-sending process. Using SMTP improves email deliverability and ensures your emails reach your users’ inboxes reliably.
Let’s begin!
Step 1. Install the SMTP Plugin
We’ll be using WP Mail SMTP for this tutorial.
You can install it from the WordPress Plugin Directory or directly via your WP Admin dashboard:
- Go to Plugins → Add New.
- Search for SMTP.
- Locate WP Mail SMTP and click Install Now.
- Once installed, click Activate.

Step 2. Launch the Setup Wizard
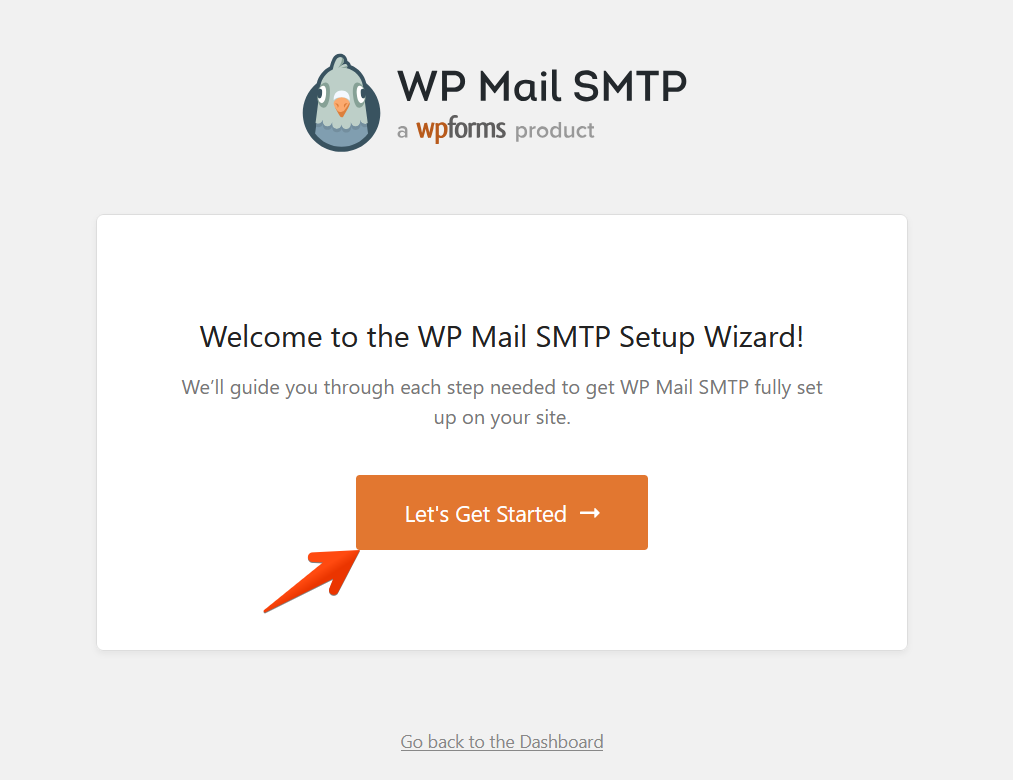
Once activated, a new menu called WP Mail SMTP will appear in your dashboard. Click on it, then select Let’s Get Started to launch the configuration wizard.
Step 3. Choose your SMTP Mailer
On the first step, select Skip this Step.

On the next step, select Other SMTP (1) and then click the Save & Continue (2) button.

In this example, we’ll use SMTP settings for a WPX-hosted email on s28.wpx.net.
Step 4: Configure SMTP Settings
Now it’s time to input your SMTP server details.
Examples of SMTP Settings:
Gmail:
- Host:
smtp.gmail.com - Encryption: SSL
- Port: 465
Office 365:
- Host:
smtp.office365.com - Encryption: STARTTLS
- Port: 587
WPX Mail:
- Host: your server hostname (e.g., s28.wpx.net)
- Encryption: SSL
- Port: 465
Complete the fields as follows:
- SMTP Host – Your server’s hostname.
- Encryption – Choose SSL.
- SMTP Port – Use 465.
- Authentication – Enable it and enter:
- Username – Your full email address.
- Password – Your email account password.
- Set your From Name (e.g., “Your Website”) and From Email (e.g.,
email@yourdomain.com).

Enable Authentication and fill in your SMTP username and password (email username and password).

Set your From Name (e.g., “Your Website”) and From Email (e.g., email@yourdomain.com).

Step 5. Email Features
In this step, you can enable additional features such as:
- Email Logging
- Weekly Email Summary
We recommend enabling the first two for basic functionality. Then click Save and Continue.

Step 6. Skip License Key (If Using Lite Version)
If you’re using the free version, you can skip the license key step by clicking Skip this Step.

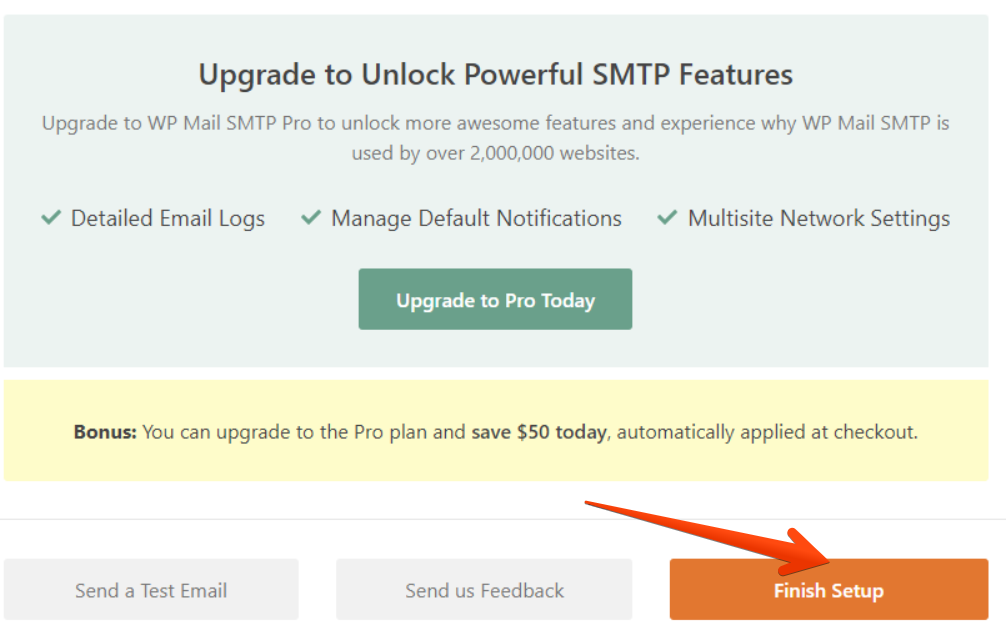
Step 7: Complete Setup
Once you see the Setup Complete screen, click the Finish Setup button to finalize everything.
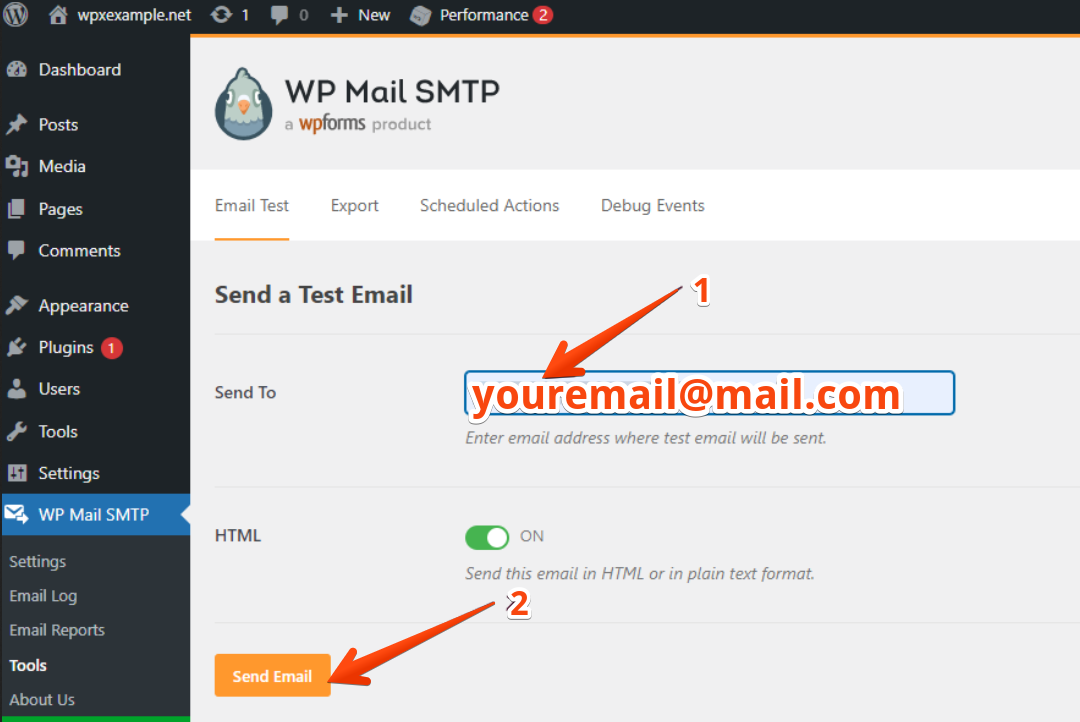
Step 8. Send Email Test
To confirm everything is working:
- Go to WP Mail SMTP.
- Then select the Email Test tab.

- Enter an email address where you’d like to send the test.
- Click Send Email.
Check your inbox to verify the email arrived successfully.
Stuck at any point? Don’t worry, just click the live chat widget in the bottom-right, and one of our support agents will assist you in under 30 seconds.