If you’re using Outlook to send emails from your WordPress site, installing and configuring an SMTP plugin will ensure your emails are delivered reliably.
This guide walks you through the process using the Post SMTP – WP SMTP Plugin plugin.
Step 1: Install the SMTP Plugin
We’ll be using the Post SMTP – WP SMTP Plugin plugin for Outlook configuration.
To install it:
- In your WordPress dashboard, go to Plugins.
- Select Add New.
- In the search bar, type Post SMTP and locate the Post SMTP plugin.
- Click Install Now, then Activate after installation completes.
Need help installing a plugin? Check out this guide for detailed instructions.

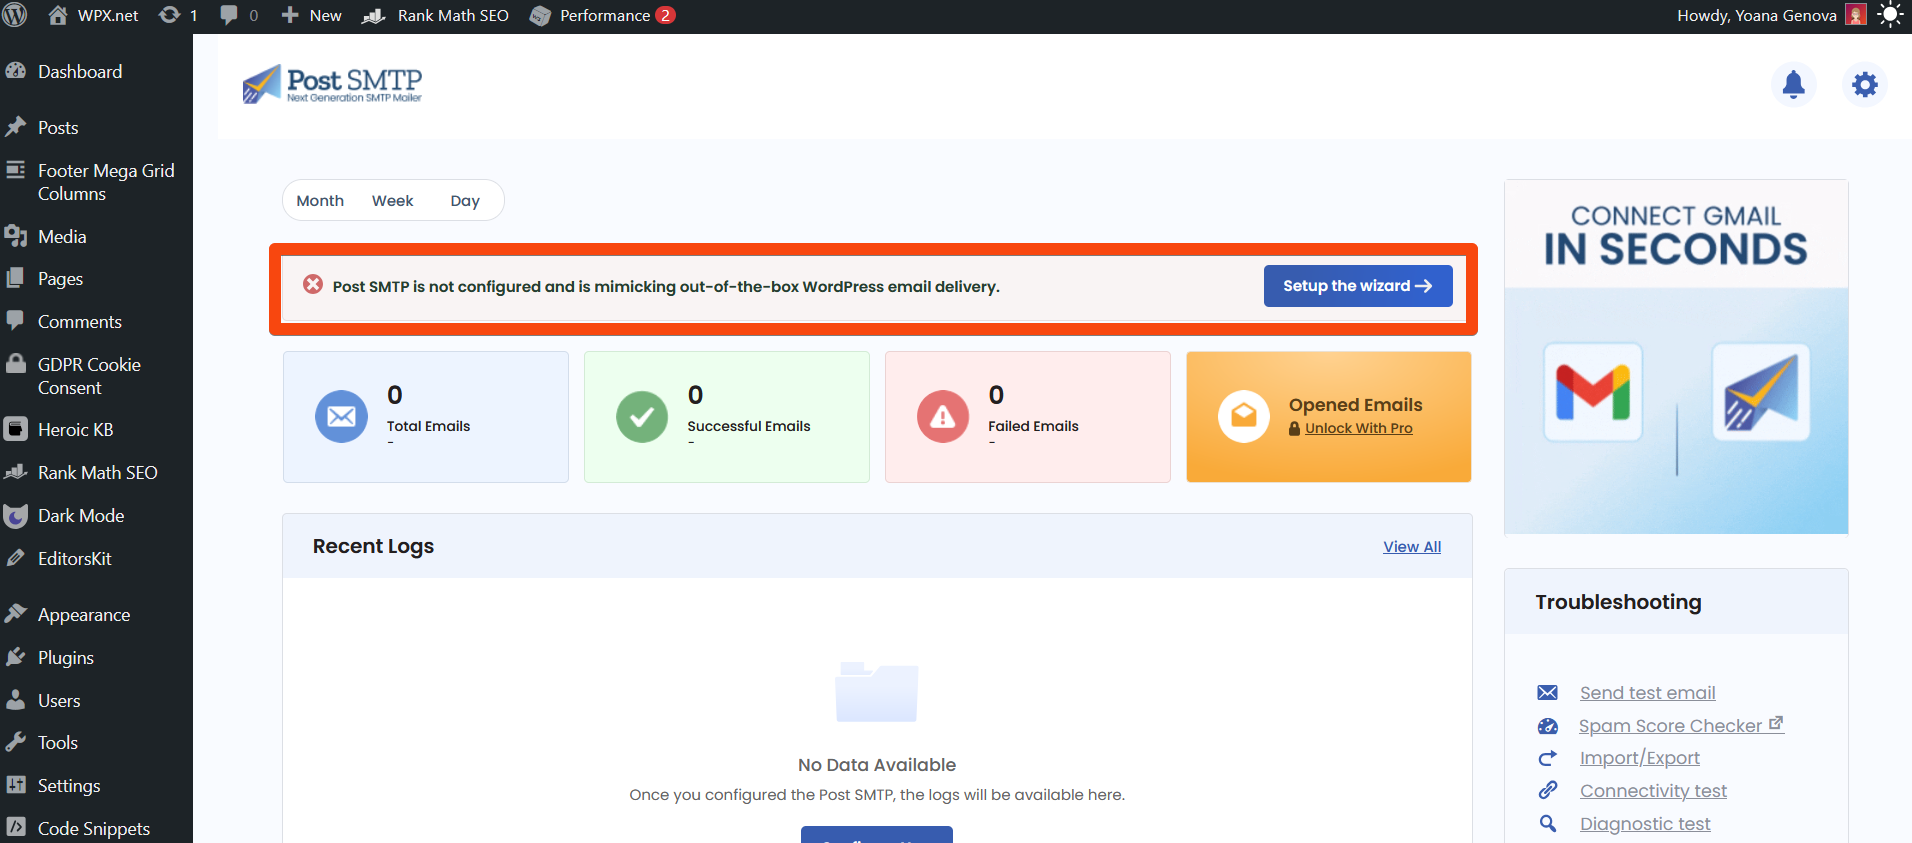
Step 2: Launch the Setup Wizard
After activation, select the Setup the wizard button.
Step 3. Choose your SMTP Mailer
- For SMTP Mailer, select Other SMTP.
- Then click Continue.

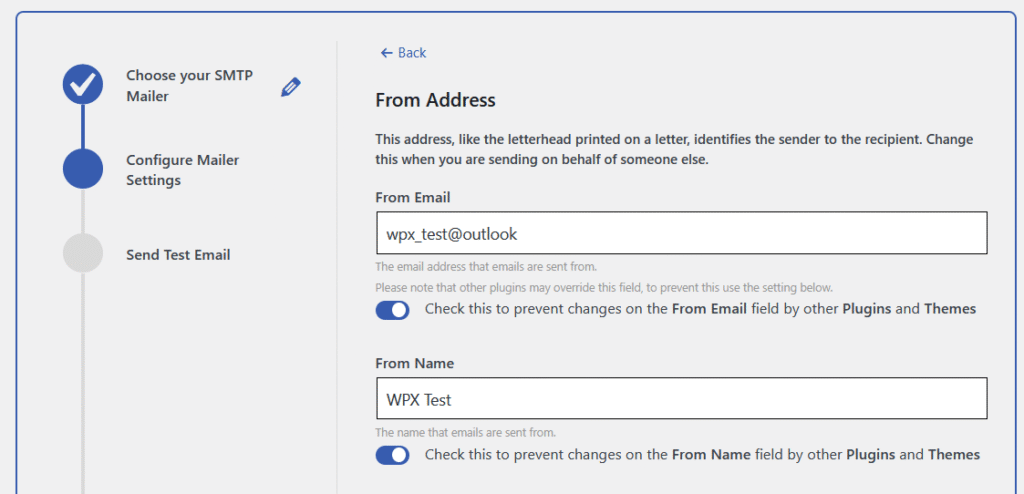
Step 4. Configure Mailer Settings
In the From Address section, fill in the following:
- From Email: Your Outlook email address.
- From Name: Your name or website name.
Continue in the Other SMTP section and fill in the following details:
- Hostname: outlook.office365.com
- SMTP Port: 587
- Username: Your Outlook username.
- Password: Your Outlook password.
- Click Save & Continue to proceed to the next step.

Additional information for POP, IMAP, and SMTP can be found here.
Step 4. Send a test email
To verify everything is working:
- Enter the recipient email address.
- Click Send a Test Email.
If the configuration is successful, you’ll see a confirmation message, and the email will appear in your Outlook inbox.

Stuck at any point? Don’t worry, just click the live chat widget in the bottom-right, and one of our support agents will assist you in under 30 seconds.