When purchasing both a domain name and a hosting package from WPX, you will need to set up the nameservers for the domain as well. This article will teach you how to do that from your WPX account.
Here are our default nameservers.
NS1.WPX.NET

NS2.WPX.NET

NS3.WPX.NET
Here is how you can manage the nameservers for your WPX domain:
Step 1. Log in to your WPX account
Begin by logging into your WPX account. You can do this by visiting the WPX login page.
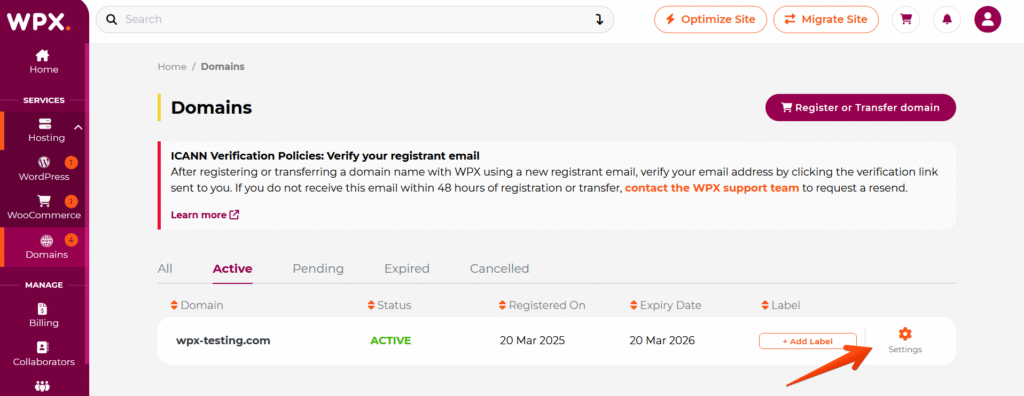
Step 2. Domain Settings
Once you are in the Control Panel, you need to select the domain that you want to change the Nameservers for and go to the Settings:
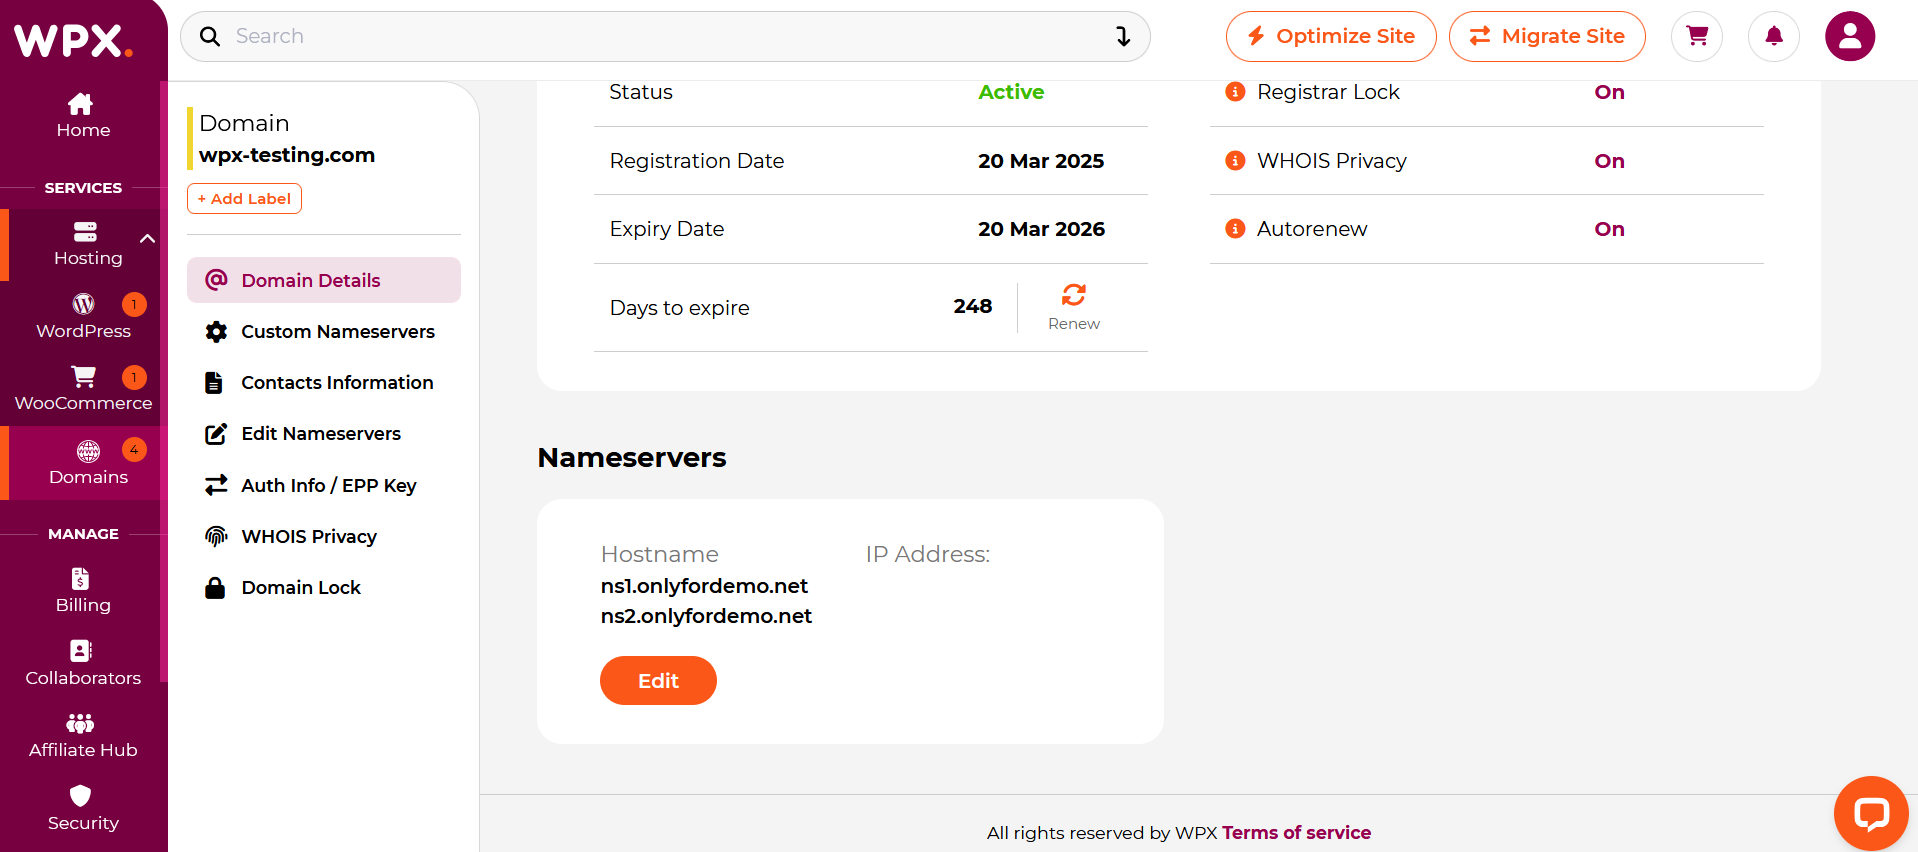
Step 3. Edit Nameservers
In the Domain Details menu, scroll to preview the nameservers and click on the Edit button.
If you get stuck with anything discussed on this page, please contact WPX Support via live chat (use the bottom right-hand widget), and they will respond and help within 30 seconds or less.