If you need to restore your website, WPX has got you covered. We do daily backups for all of your websites, and we keep those backups for 28 days. In the Backups menu, there are two types of Backups that you can use: Personal Backups and Automatic Backups.
In this article, we will show you how you can restore your websites from an Automatic backup.
Step 1. Log in to your WPX account
Begin by logging into your WPX account. You can do this by visiting the WPX login page.
Step 2. Go to Control Panel
Once logged in:
- Locate your hosting plan in the WPX client area.
- Click the Control Panel button next to the plan you wish to manage.

Step 3. Go to the Backups menu
Within the Control Panel:
- Select Backups to open the Backup Manager.
- Then, from the dropdown, select your website.

Step 4. Select a backup point & options
Under the Automatic Backups section, you’ll see a calendar displaying all available restore points. Dates with available backups are marked with an orange circle.
Click on your desired backup date to select it, for example, 16 Jul 2025 in this guide.
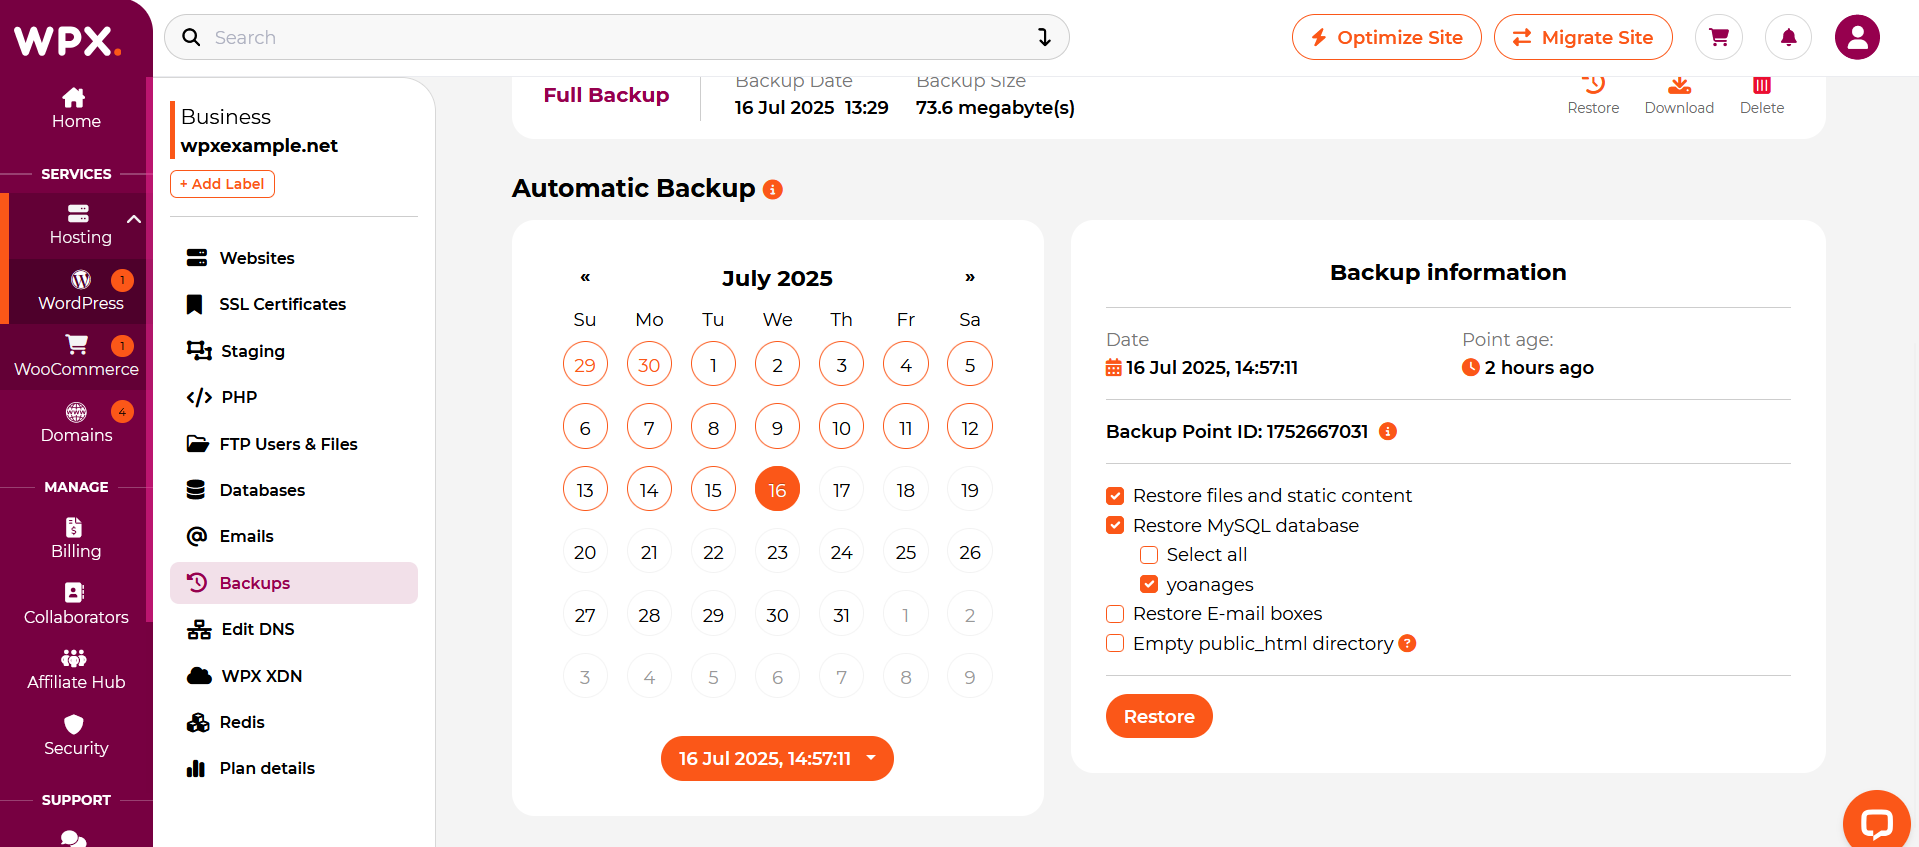
Once selected, detailed information and available restore options for that backup will appear in the panel on the right side of the calendar.
Restore Options Explained
Restore files and static content
This option is selected by default when choosing a backup point. It restores your website’s core files, images, themes, and plugins.
Restore MySQL Database
If your site uses multiple databases, you can choose to restore all of them or select only the ones you need.
Restore E-mail Boxes
If your account includes email services, you can restore individual or all email inboxes linked to your domain.
Empty public_html Directory
Selecting this option will delete everything in your site’s public_html folder before applying the backup.
- This is your website’s root directory—removing its contents will erase all files before restoration.
- Useful when restoring from a clean backup after malware or file corruption.
Step 5. Restore website
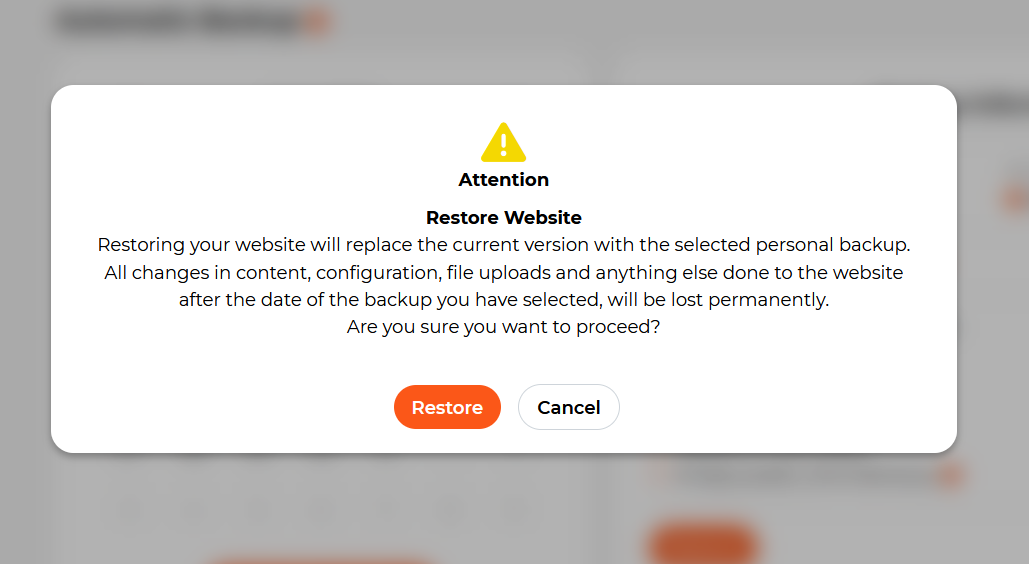
Now that you know all the options, click on the Restore button to complete the process.

Then confirm by clicking the Restore button.
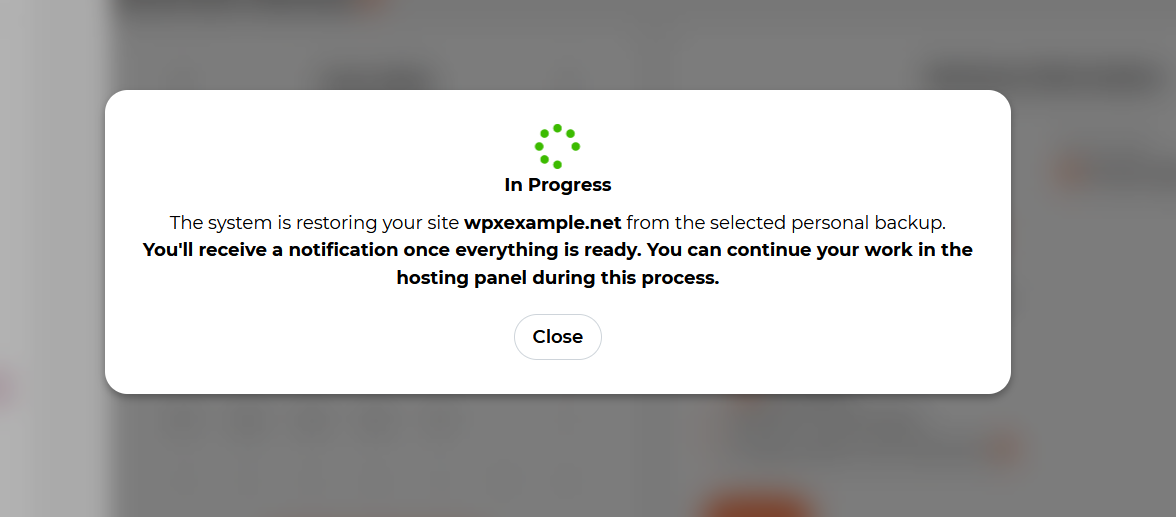
You can close the In progress dialogue and continue working in the Control Panel while the system is restoring your website.
Stuck at any point? Don’t worry, just click the live chat widget in the bottom-right, and one of our support agents will assist you in under 30 seconds.