Two-Factor Authentication (2FA) adds an extra layer of security to your WPX account. Even if someone gets hold of your password, 2FA ensures they cannot log in without a second verification step.
Why Enable 2FA?
Enabling 2FA helps protect your account from unauthorized access by requiring:
- Something you know: your password
- Something you have: a code from your phone or email
Benefits:
- Prevents unauthorized logins, even if your password is compromised
- Protects sensitive data and hosting resources
- Adds peace of mind for account security
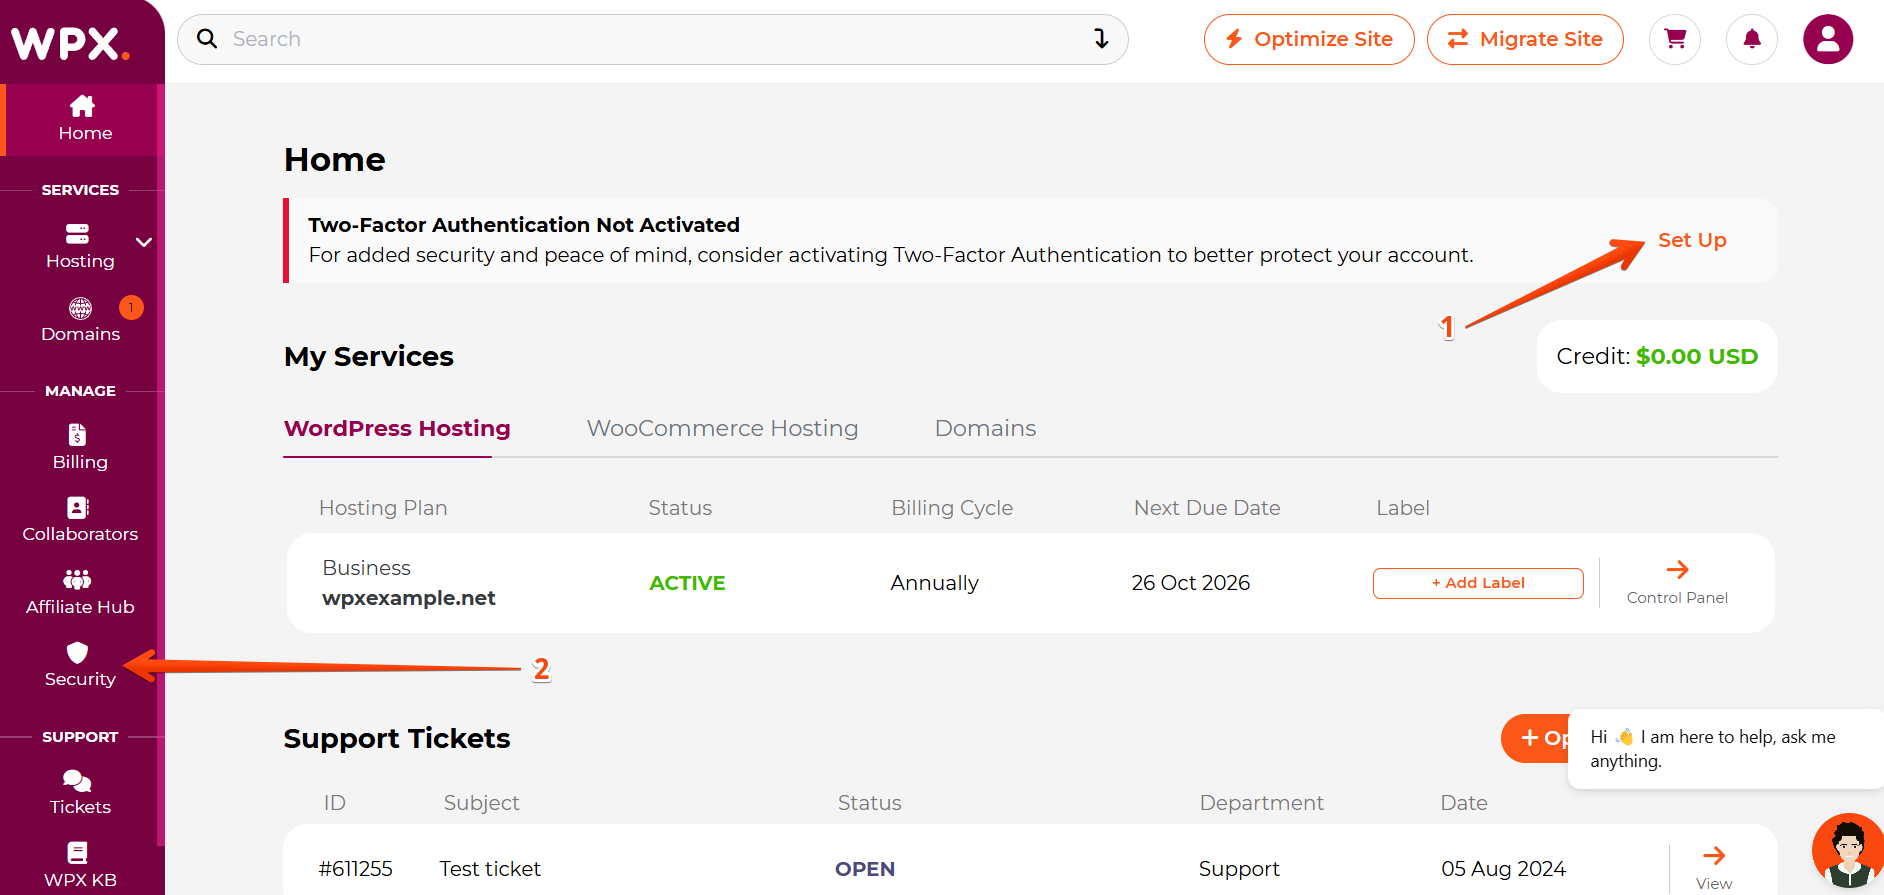
Step 1: Access 2FA Settings
- Log in to your WPX account.
- Click on the Security tab from the main menu.
- Go to Security → Two‑Factor Authentication in your account dashboard to start the setup.
Step 2. Choose your 2FA Method
WPX offers two methods:
a. Authenticator App (Recommended)
- More secure than email because codes are generated on your device
- Works offline without internet
- Compatible with apps like Google Authenticator or Authy
b. Email Authentication
- Sends a code to your registered email address
- Simple to use, but less secure if your email account is compromised or delayed
To enable Email Authentication, click the Activate button under it.

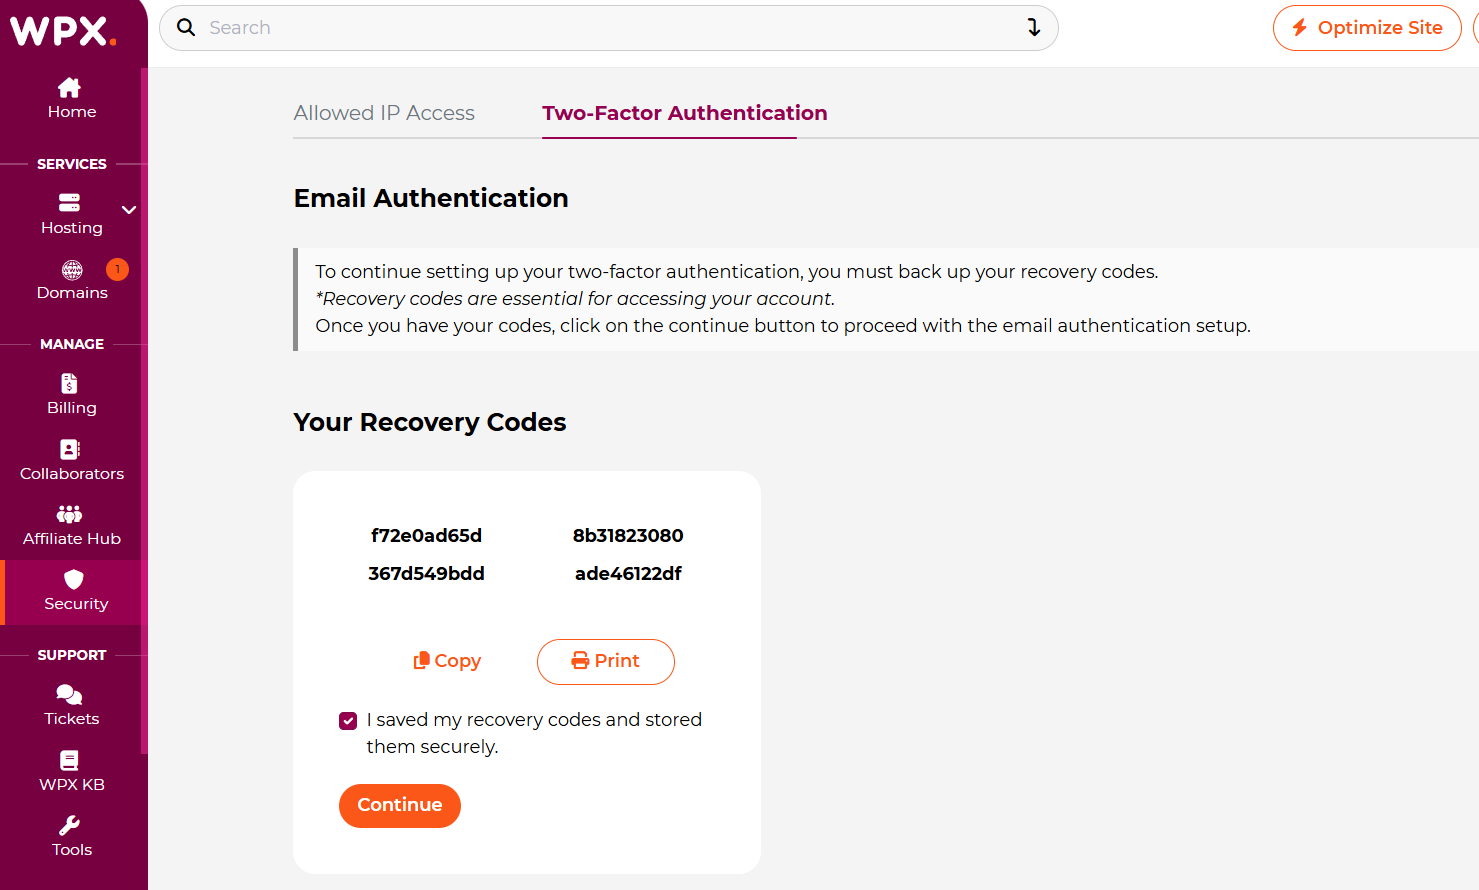
Step 3. Save Recovery Codes
After securely saving your recovery codes, tick the confirmation box and click the Continue button to complete the setup
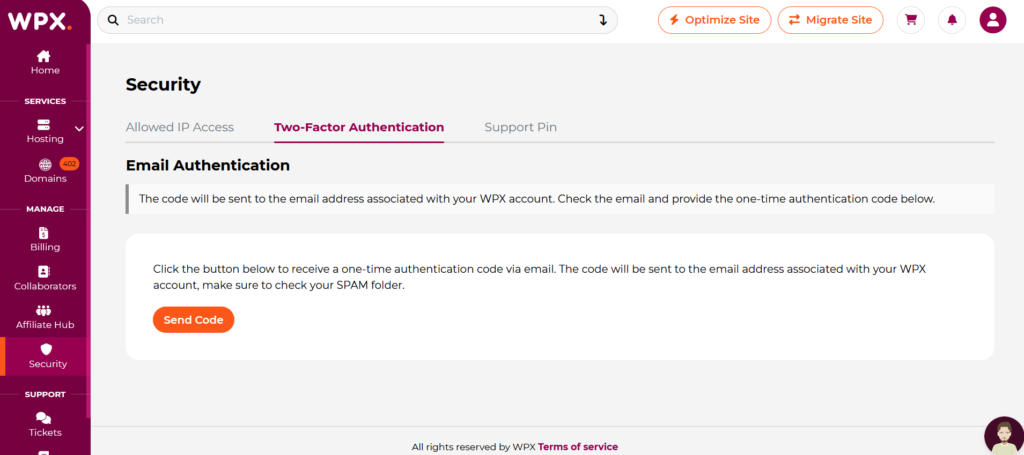
Step 4. Verify Your Email
Click the button Send Code to receive a one-time authentication code via email. The code will be sent to the email address associated with your WPX account.
Open your email inbox and locate the code (check your spam/junk folder if you don’t see it).
Enter the code in the field provided on your WPX dashboard and click Complete.
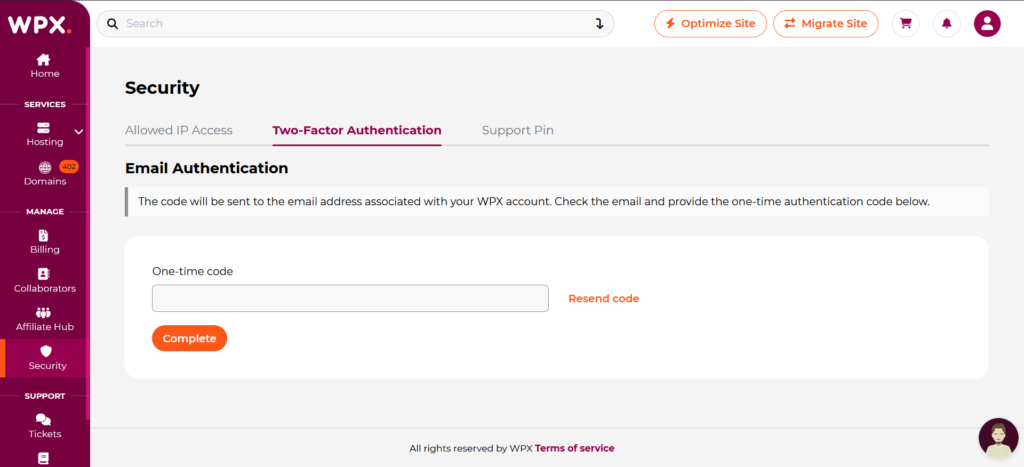
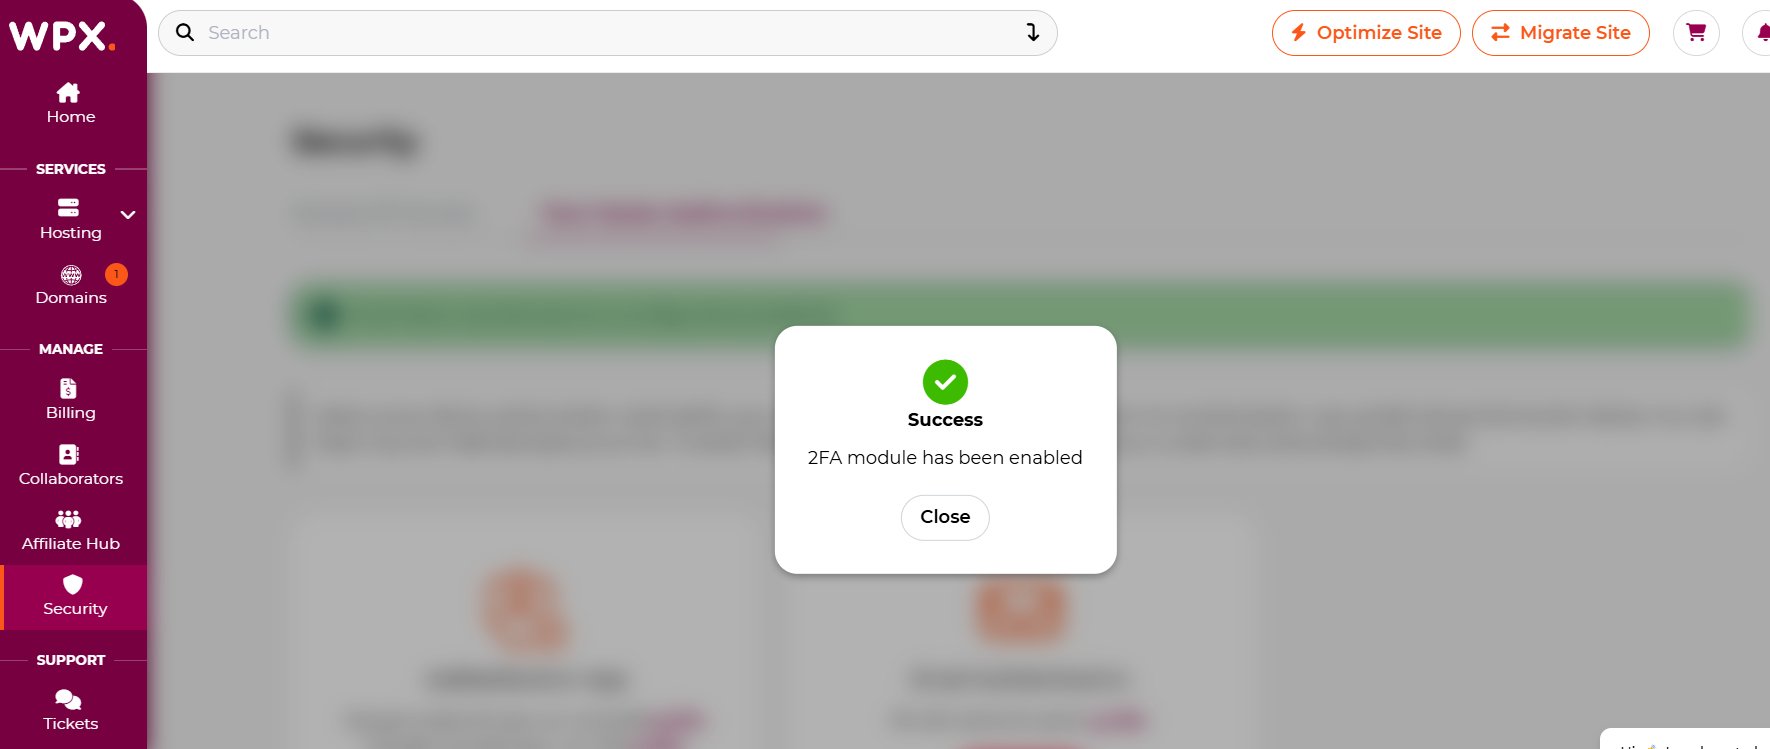
You’ll receive a confirmation message in your WPX control panel.
Next time you log in to your WPX account, you’ll be asked to provide a code that will be sent to your email for authentication.
If you ever need to disable or reset 2FA, return to the Two-Factor Authentication settings in your WPX dashboard.
Stuck at any point? Don’t worry, just click the live chat widget in the bottom-right, and one of our support agents will assist you in under 30 seconds.