These days automatic payments are a necessity as you don’t have to handle all of your online payments manually (which can be frustrating). That’s why setting up a subscription is highly recommended by us so you can avoid future hosting account suspensions/terminations.
Step 1. Log in to your WPX account
Begin by logging into your WPX account. You can do this by visiting the WPX login page.
Step 2. Open the Billing menu
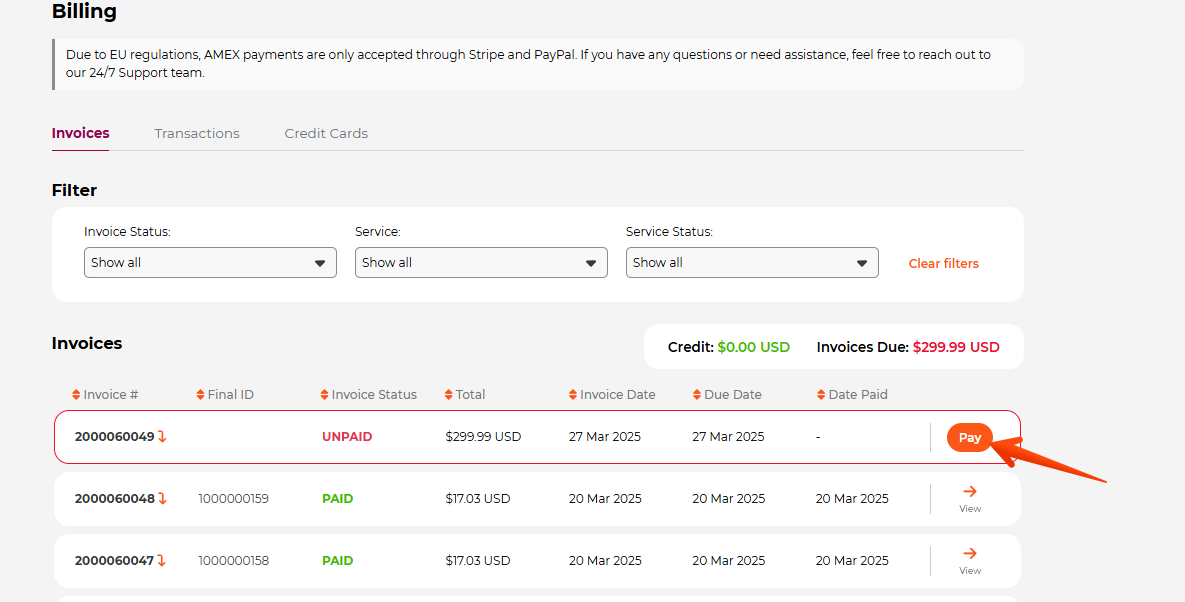
Once you log in to your account, select Billing:

You’ll be taken to the Invoices page. Here you can check on the invoice statuses, payment amounts, exact day of payments, and due dates. Select the Pay button to open the invoice in a new tab and proceed with the payment:

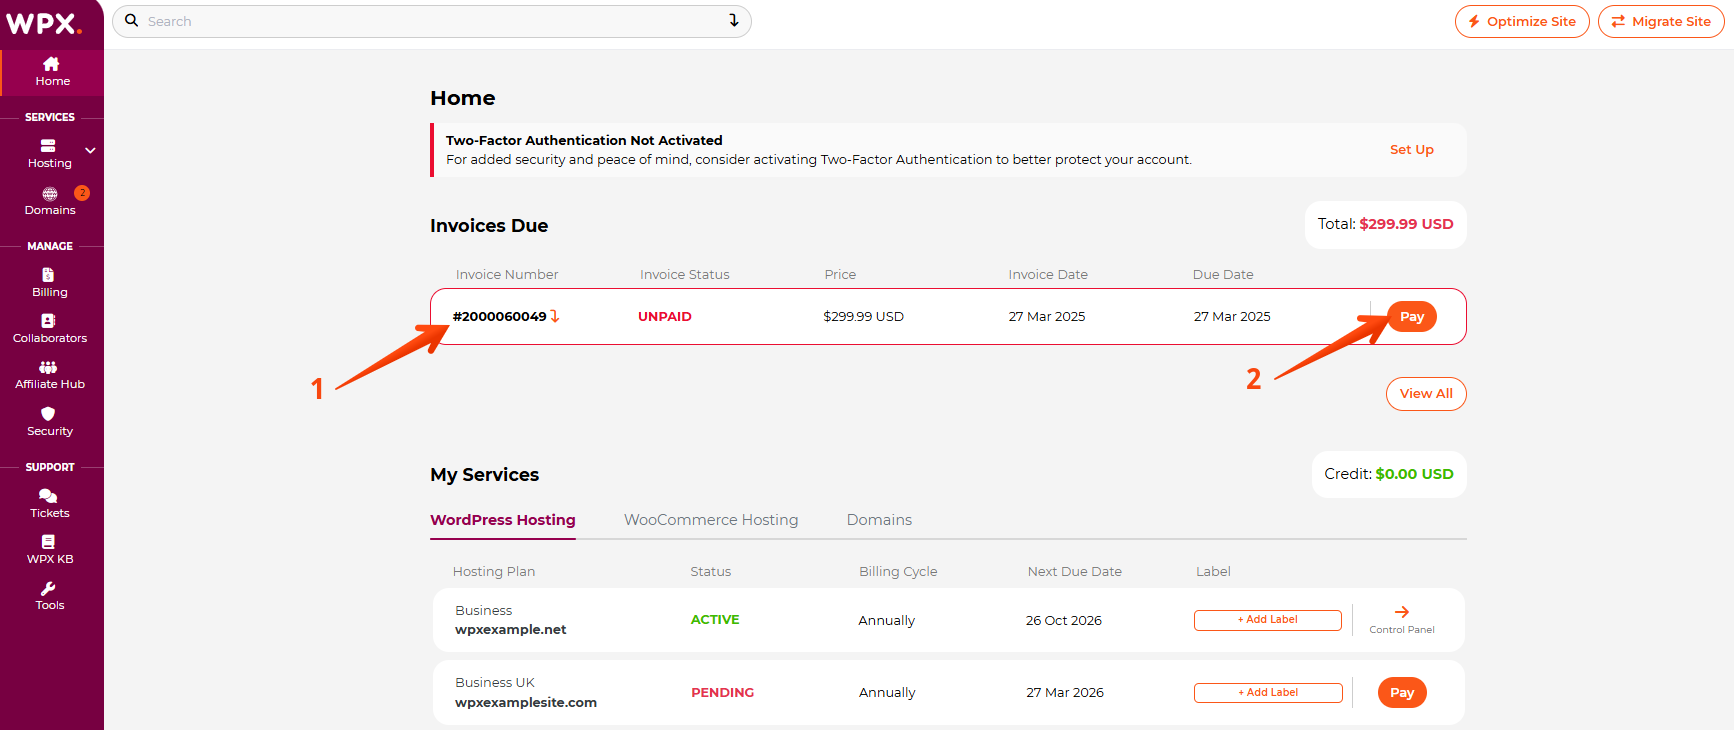
You can also directly open the unpaid invoice. Once you log into your WPX account, you will see the unpaid invoice (1) on the home page. Click the Pay (2) button to open the invoice in a new tab
Step 3. PayPal/Credit Card subscriptions
These are the two payment methods that you can use here at WPX. Let’s dive into setting up both of them individually. Please make sure to choose only one of them to avoid being double-charged.
PayPal
That’s by far the most preferred method. It’s super easy to set up as long as you have a PayPal account. Please select the unpaid invoice that covers the hosting plan you’d like to set up a subscription for. You can do that by pressing on the Pay button:
You’ll be taken directly to the Pro Forma Invoice, where you are supposed to set up a subscription. The PayPal Subscribe button is what you’re looking for. Once you authenticate through your PayPal account, you won’t have to worry about any manual transactions later on.

Credit Card
Stripe
Once on the Pro Forma Invoice page, click on the drop-down menu (1) and choose the Credit Card (2) option (Braintree or Stripe).

This option is going to reload the page, and you will see the Continue button.

All you need to do is select the Continue button and fill in your CC number, MM/YY, and CVC code:
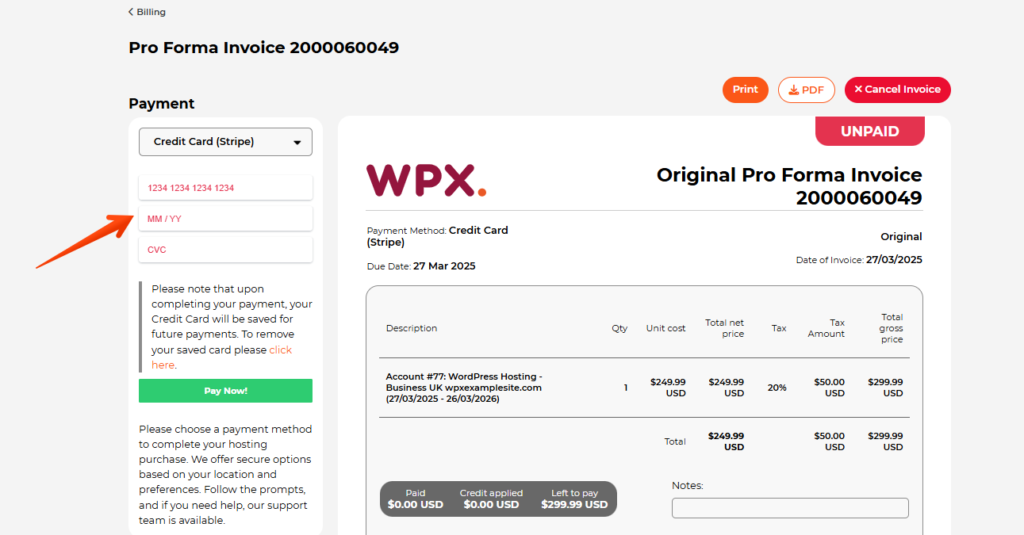
That’s it. Your Credit Card will be saved for future payments.
Braintree
If you choose Braintree, then the Pay Now! button will appear:
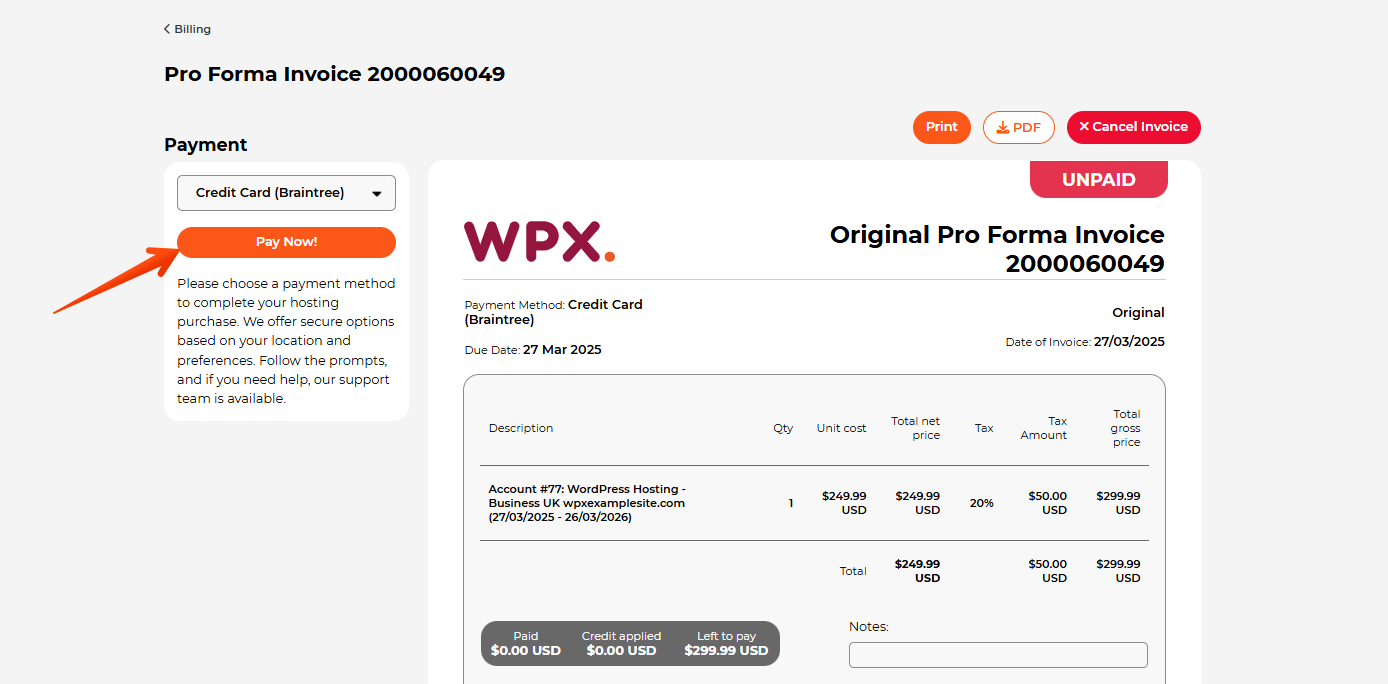
Enter the required credit card details, including the cardholder’s name. You can also choose to auto-fill (1) the details using the Main Account information. To save your card for future payments on your WPX account, check the Save Credit Card for future payments (2) box:

Have more questions? Contact the WPX Support Team through the live chat widget in the bottom-right corner, and they’ll assist you promptly, typically within 30 seconds.