In this article, we’ll walk you through the process of installing and configuring the plugin Contact Form 7, as well as creating a form using it.
Let’s get started.
Step 1. Install and Activate Contact Form 7
To install the plugin:
- In your WordPress dashboard, go to Plugins → Add New.
- Search for Contact Form 7 in the search bar.
- Click Install Now next to the plugin, then Activate.

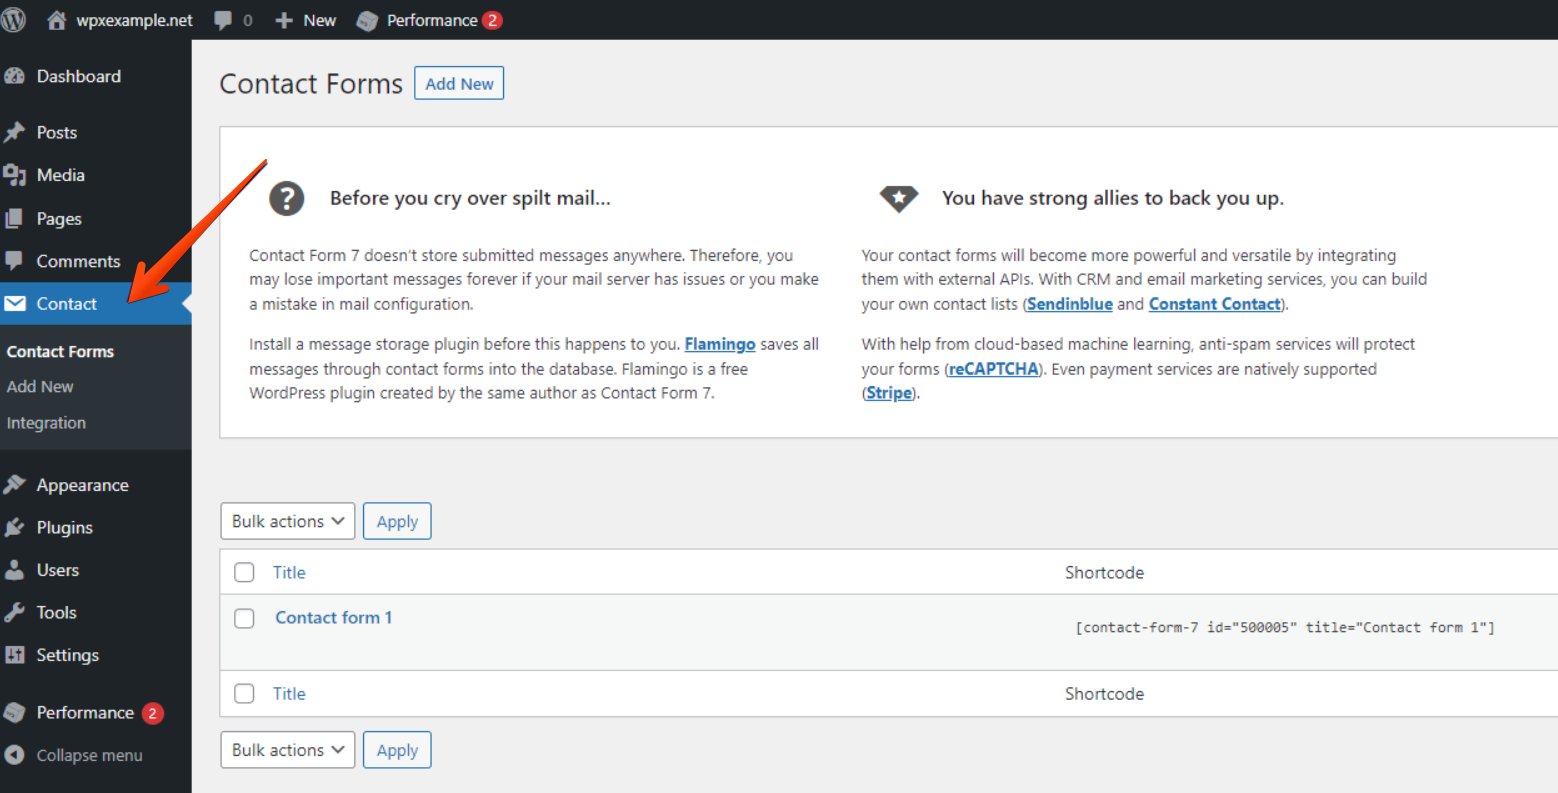
Once activated, you’ll find a new Contact menu item in your dashboard where you can manage your forms.
Step 2. Add a Contact Form to your WordPress Page
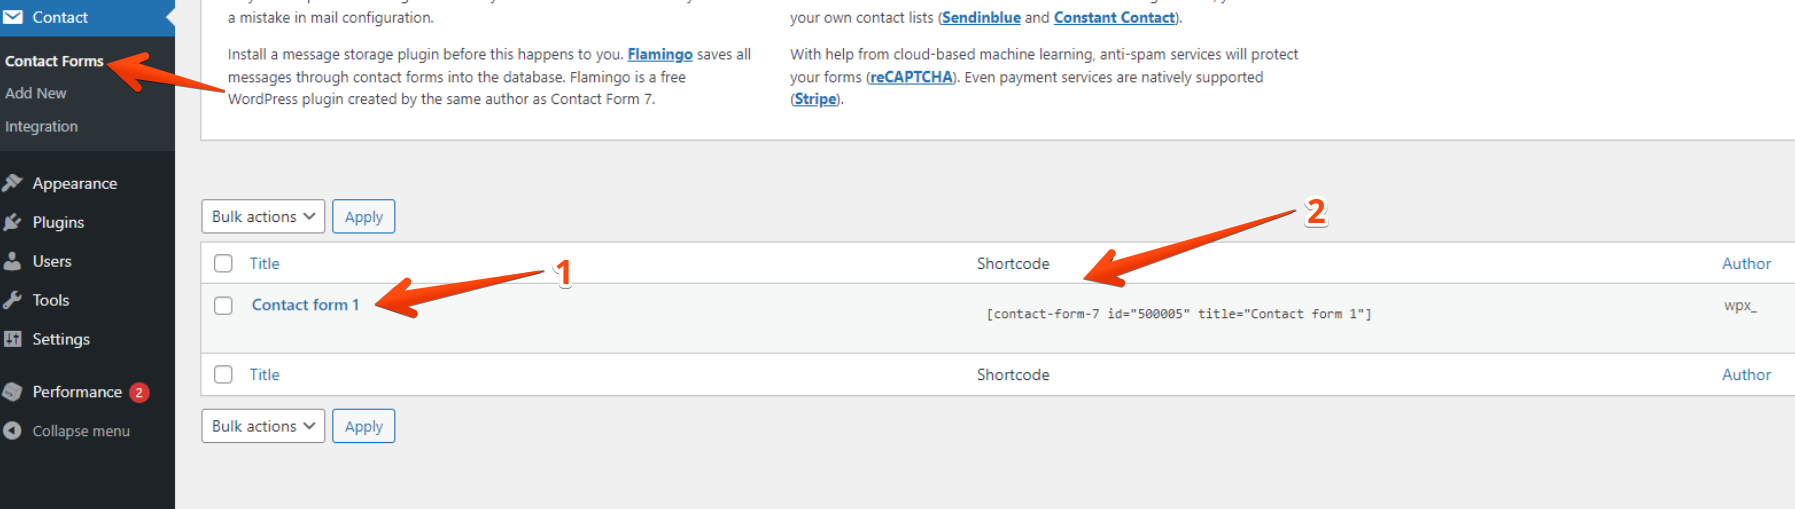
By default, Contact Form 7 creates a basic contact form (1) for you. To use it on your site, just take the shortcode (2)
Paste the shortcode into the content area where you want the form to appear, most commonly on your Contact page.
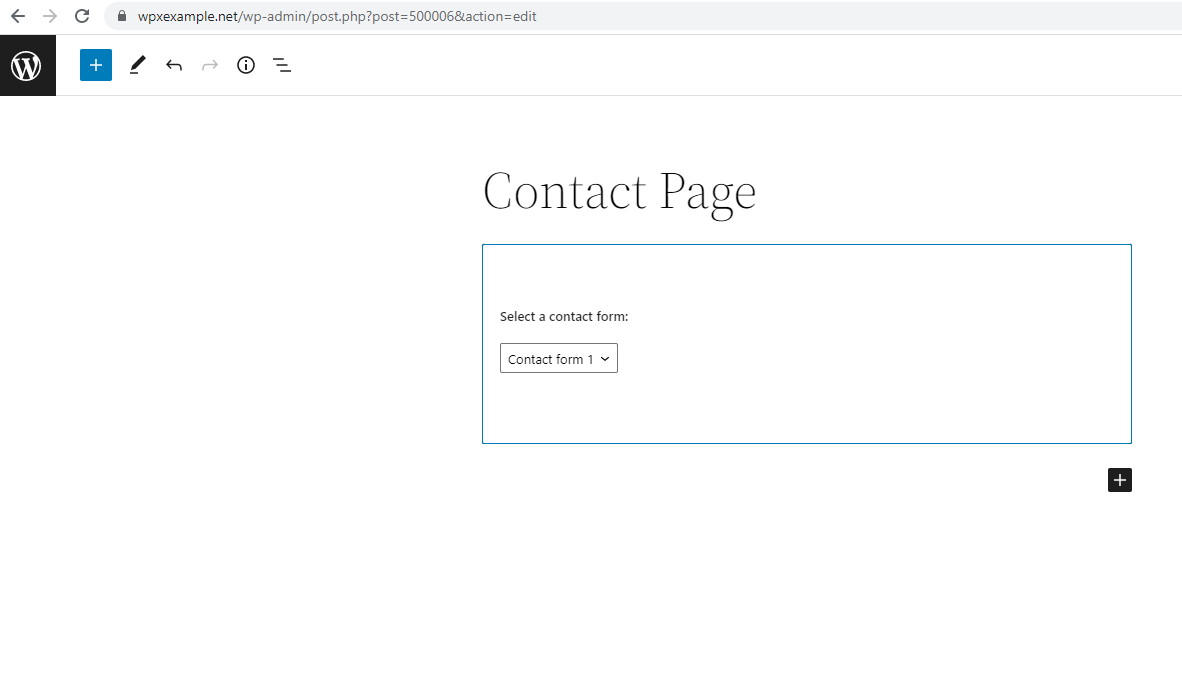
After publishing the page, visitors will be able to submit inquiries directly through this form. All messages will be sent to the primary administrator’s email address registered in WordPress.
Step 3. Create a new contact form
Contact Form 7 allows you to customize the default form or create new ones with custom fields:
- Navigate to Contact → Add New.
- Give your form a name.
The plugin will generate basic fields like name, email, subject, and message by default.

You can add more fields based on your needs. For example, to add a telephone number field. Click the tel tag button above the form editor.

- Fill out the pop-up form, and check the Required field if needed.
- Click Insert Tag to add the field to your form.

Step 4. Configure Mail Delivery Settings
Proper email configuration is essential to receive form submissions:
- To: Enter the email address where you want to receive messages.
- From: This email will appear as the sender. Use a valid email address from your domain.
- Subject: Specify a default email subject or use the visitor’s input.
- Additional Headers: Usually includes the Reply-To header to easily reply to the sender.
- File Attachments: Enable this if you want visitors to send files through the form.

Additional Features
Contact Form 7 supports many advanced options such as:
- reCAPTCHA integration for spam protection
- Using placeholders in form fields
- Adding autoresponders
- Allowing file uploads
For a full list of features and usage, check the official Contact Form 7 documentation.
Stuck at any point? Don’t worry, just click the live chat widget in the bottom-right, and one of our support agents will assist you in under 30 seconds.