This guide will walk you through configuring your SSL certificate when using Cloudflare.
Step 1. Log in to your Cloudflare account
You can log in to your Cloudflare account here.
Step 2: Configure SSL/TLS Encryption in Cloudflare
Once logged in, you’ll land on the Cloudflare dashboard. You have 3 options for your site:
- Search for your website (if it is already added)
- Select it directly from the menu or,
- Add a Site.

- In the left-hand menu, click SSL/TLS.
- Under the Overview tab.
- Set the SSL/TLS encryption mode to Full.

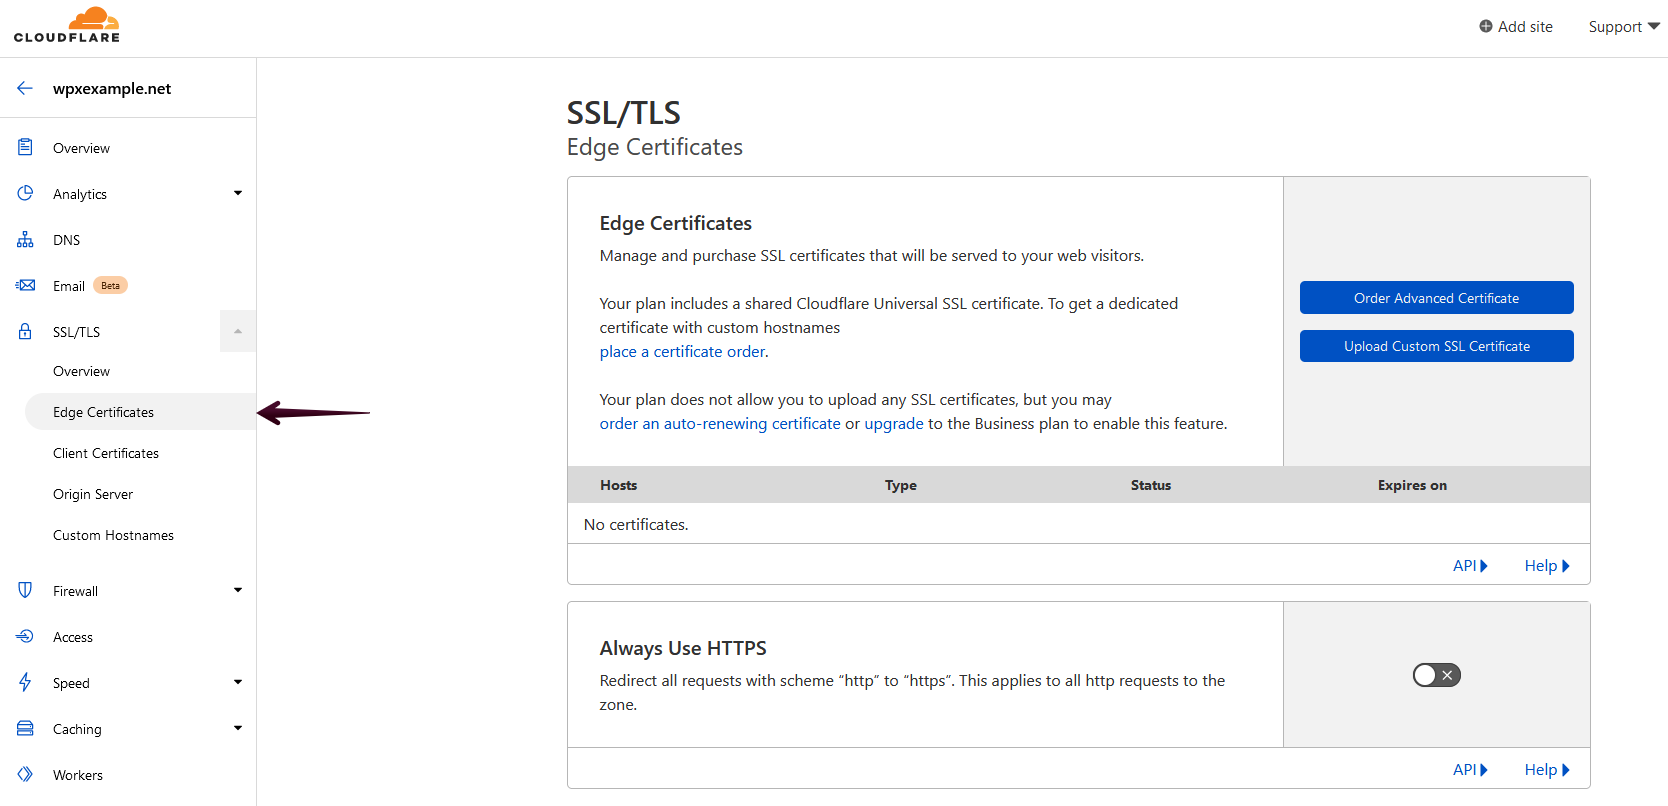
Step 3: Adjust Edge Certificate Settings
Next, go to the Edge Certificates tab under the SSL/TLS section.
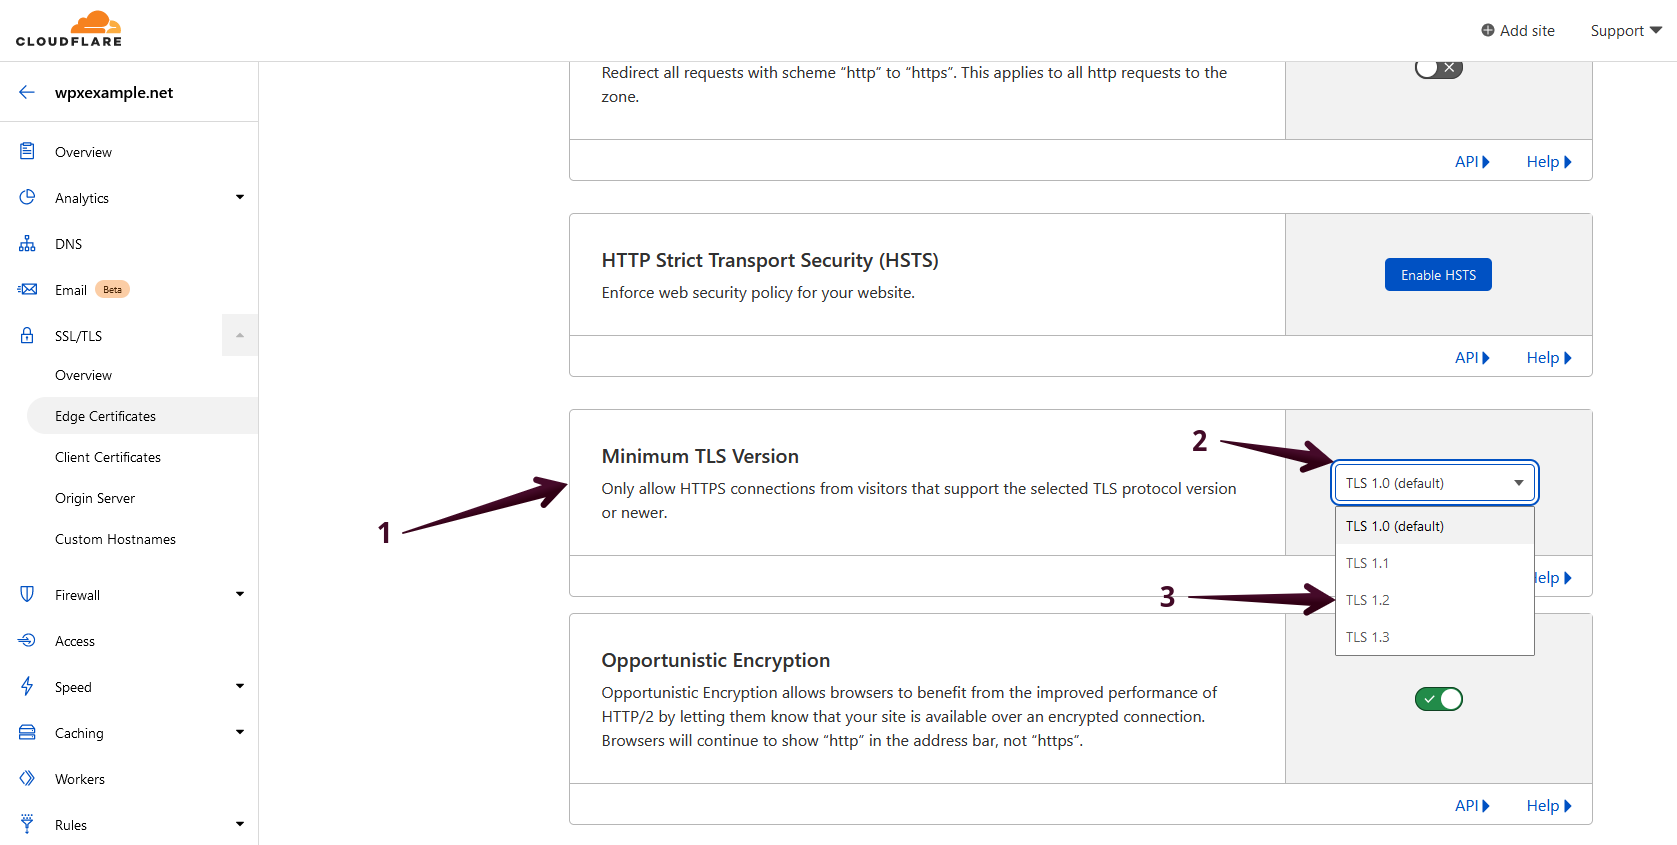
- Scroll down to the Minimum TLS Version setting.
- Select the dropdown menu for TLS.
- Change it from the default value to TLS 1.2 to ensure modern browser compatibility and better security.
Step 4: Apply Additional SSL Settings
While still in the Edge Certificates section, review the following options:
- TLS 1.3: This should be ON by default. Leave it enabled unless it causes issues.
- Automatic HTTPS Rewrites: Also ON by default. Keep this enabled to ensure your site loads securely.
These settings help enforce HTTPS and ensure compatibility with modern protocols.

Stuck at any point? Don’t worry, just click the live chat widget in the bottom-right, and one of our support agents will assist you in under 30 seconds.