If your website uses the NitroPack plugin alongside WPX XDN, this guide will help you set up an integration that automatically clears WPX XDN’s cache whenever you clear the NitroPack cache, even if your site is behind a proxy (like Cloudflare).
Since NitroPack relies on DNS-based detection, if your site is not directly pointing to WPX’s IP addresses (e.g., when using Cloudflare’s proxy), you’ll need to configure additional integration steps for everything to work smoothly.
Step 1. Log in to NitroPack
Go to https://app.nitropack.io and log in to your NitroPack dashboard.
Step 2. Open the Integrations Menu
From the NitroPack dashboard, navigate to the Integrations section in the sidebar menu.
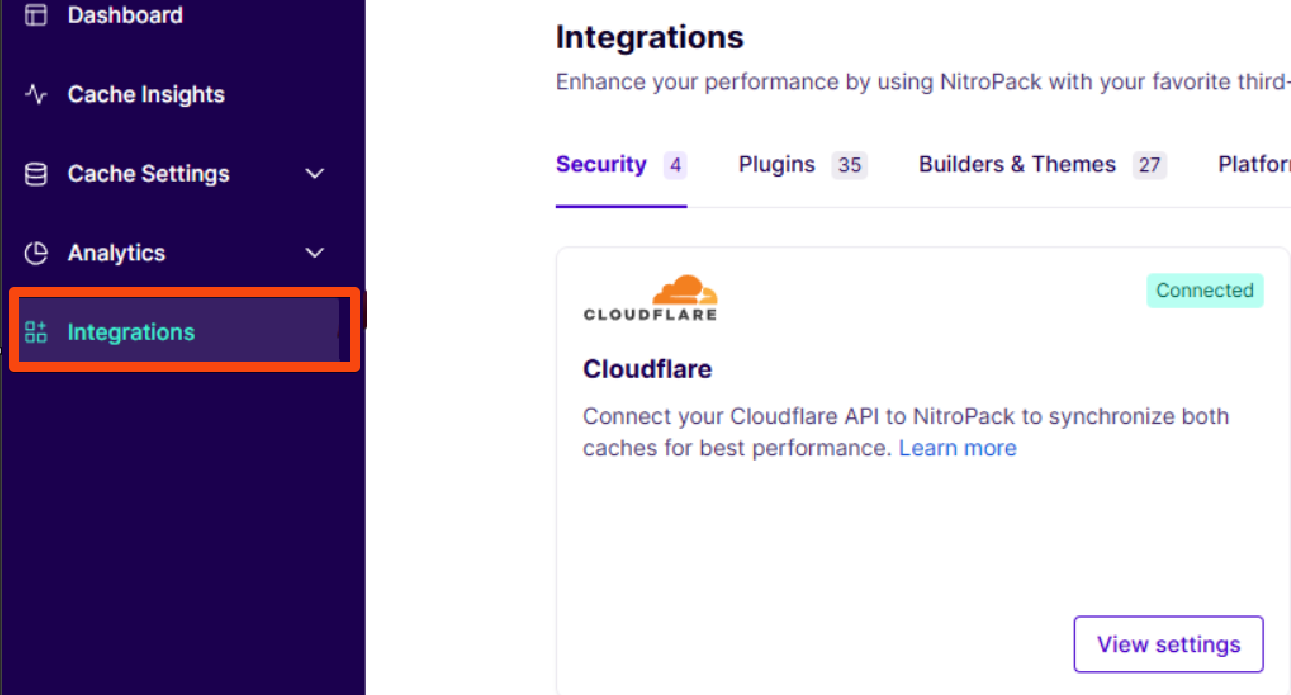
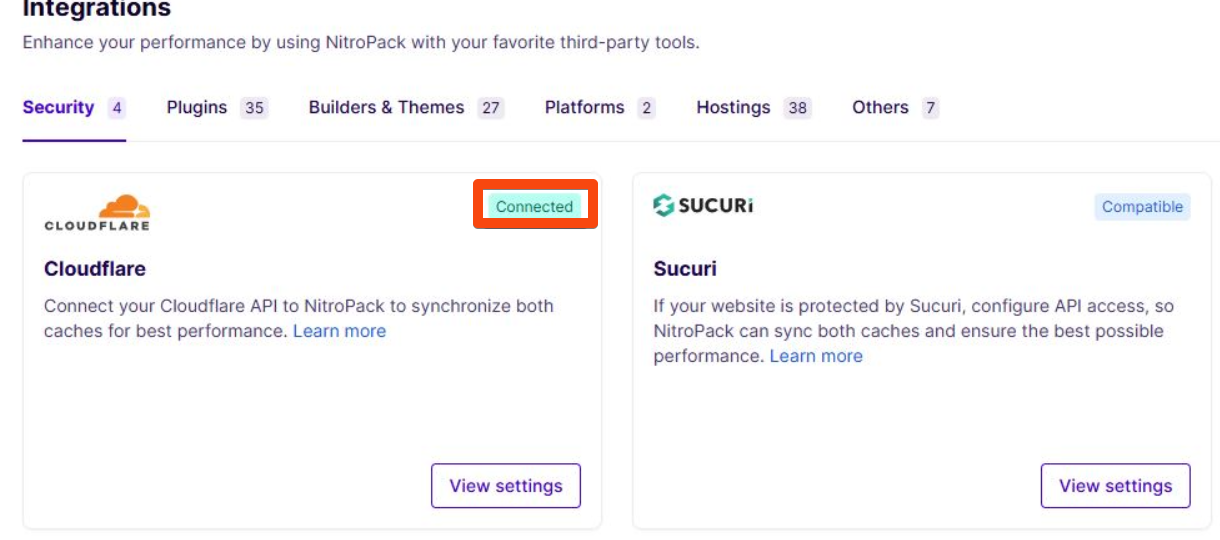
Step 3. (Optional) Connect your Cloudflare Account
If your site uses Cloudflare as a proxy, you need to connect NitroPack to Cloudflare:
- In the Cloudflare integration widget, click View Settings.
- Enter your Cloudflare API token in the provided field to link NitroPack and Cloudflare.
This connection allows NitroPack to properly clear the cache when your site is behind Cloudflare’s proxy.

You can find the Nitropack guide on how to configure it with CloudFlare.
Step 4. Configure the Reverse Proxy Settings for WPX XDN
Return to the Integrations page and find the Reverse Proxy (Varnish, NGINX, etc.) section. Click View Settings to open the configuration.
Fill in the following details:
- URL for performing a complete purge – Enter your full site URL; replace ‘domain’ with your actual site name, for example, https://www.wpx.net, and add ‘/.*’ at the end of the URL – https://www.[domain]/.*
- HTTP method when purging a single URL – Set this to ‘PURGE’.
- HTTP method when purging the entire reverse proxy cache – Set this to ‘PURGE’ as well.
- List of IPs of reverse proxy servers – Add the following IP address: 127.0.0.1:6081

Step 5. Save and Verify Connection
After entering the details, save your changes. Both the Cloudflare and Reverse Proxy integrations should show the status Connected.
Stuck at any point? Don’t worry, just click the live chat widget in the bottom-right, and one of our support agents will assist you in under 30 seconds.